There needs to be a certain measurable amount of moisture content in wood to keep it flexible enough to withstand manipulation with machines and tools. With many people storing wood in their sheds for years on end, it begs the question, Can wood be too dry for woodworking?
Wood can be too dry. For most woodworking projects, a wood moisture content of around 7% to 14% is ideal. This allows the wood to remain pliable during woodworking. Pieces that are too dry will easily splinter and break, while wood that is too wet can cause damage due to warping and shrinkage.
There is a lot to know about working with dry or wet wood and finding that perfect moisture balance in order to keep your project and tools protected. This article is going to go over the importance of working with dry wood, how to measure water content, proper storage techniques, and the drying process for green or wet wood.
Why Moisture Content Matters When Woodworking
Wood can expand or contract depending on how much water it has built up within the small porous spaces left behind by the tree’s vessels. They will impact how well your machines and tools function.
Working with wood that has too much moisture trapped inside can lead to shrinkage, warping, possible splitting, and other issues when it begins to dry. On the other hand, wood that is too dry may cause splitting or cracks. When woodworking, it is best to start with pre-dried wood.

You will want to use a tool to measure how much water is trapped within it before you start building.
Voids Within Wood
When trees are growing, they have special vessels traveling through them that allow water and nutrients to be collected and moved. This process keeps cells nourished, and it works as a kind of circulatory system.
When the wood is collected for building materials, those vessels create voids within the interior. Even though wood may look solid, it is actually quite porous with a rather high natural moisture content. It can take months for that moisture to fully evaporate once a tree is cut down.
Each species of tree has its own degree of porousness, so some dry out easier and faster than others. Ash and oak are two of the most porous species, while pine and cedar tend to be more solid.
There are highly porous, semi-porous, and “non” porous species of trees. To see examples of each, you can reference the images displayed in this 2020 paper by the University of Kentucky.
What is Moisture Content?
When we talk about moisture content, we are referring to the weight of the water in a particular piece of wood divided by the weight of the wood. To get the percentage, you multiply that number by a hundred.
There are devices that can do this for you, or you can manually determine this measurement using methods like oven drying.
Moisture Percentage
The optimal moisture content is between 6% to 8%
Having a moisture level of between 6% to 8% is fantastic for woodworking furniture or other items meant to be placed indoors. Outdoor objects can retain up to 19% moisture and still work well.
Any lower than 5% or higher than 20% can lead to issues when cutting, joining, finishing, or otherwise working the wood.
For more information about drying and moisture percentages, you can read The Properties of Wood Related to Drying, which is a paper provided by the United States Department of Agriculture. This paper also gives information about drying specific species of trees and details regarding structural features of wood affected by moisture content.
Relative Humidity
The relative humidity (RH) of a space is affected by water vapor, air pressure, and temperature. Generally, wood storage and woodworking should not take place in areas with a relative humidity of above sixty percent because the wood will be soaking up moisture from the environment.
Wood will always adapt to the RH. The time of year and geographical location will have an impact on relative humidity. The levels are usually highest in the summer and lowest during the winter months and in less humid places.
How Can Wood Be Too Dry For Woodworking?
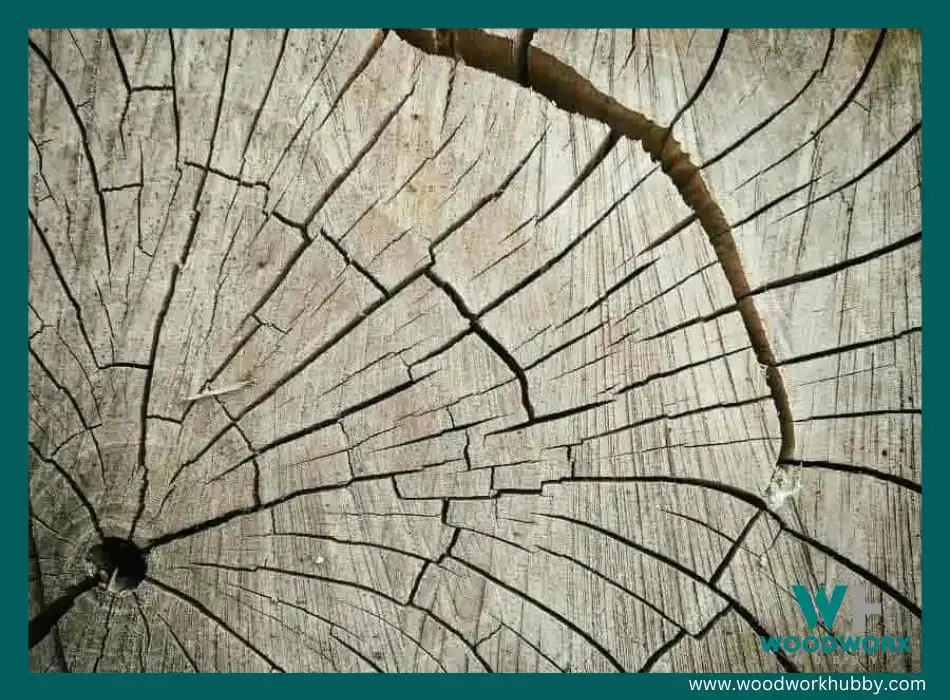
When working with wood that is too dry (i.e., below 5% moisture content), it can become very brittle and hard to work with tools especially cutting across the grain.
When turning, sawing, cutting, nailing, or otherwise manipulating the board, it may result in severe splintering. A small amount of water is necessary inside the wood to keep it flexible enough to handle the pressures being exerted on it.
What Can Go Wrong
The primary results of working with wood that has a moisture level below the desired threshold are the following.
- Splits
- Splintering
- Cracks
- May produce cupping
- Adhesives dry much quicker, giving you less time to assemble
- Grain may chip
- May swell in summer
- Blades will dull faster
Wood that is too dry will be more delicate. The amount of force that can be applied to the wood through hammering, sawing, or sanding will be limited by the lack of elasticity.
To remain properly malleable to withstand woodworking, you will want to make sure to get more moisture inside the wood. You can do this by putting it in a kiln starting at 130F, which creates some humidity that the wood can absorb.
What If the Wood Is Too Damp?
While you know the answer to can wood be too dry for woodworking? there is a different issue to look at more closely – wet or damp wood.
Wood that is wet to the touch can still be used for woodworking, but it is not ideal. Greenwood can cause your machines and tools to get gummed up with wet sticky wood fibers. Excess moisture can also cause your tools to rust.
Working with green wood can be done:
Even if it appears perfectly dry on the outside, you will want to use some form of moisture sensor to determine if the interior is above the threshold for ideal use. Some of the ways woodworking can be affected by moist wood include the following.
- Sanding: sanding wood that has not properly dried can lead to an inconsistent finish because the shape and surface will change minutely as it loses water.
- Gluing: using adhesives on damp wood, especially for joints, will cause issues when the wood dries because the shrinkage will pull the two pieces away from each other and can weaken the integrity.
- Safety Issues: damp or especially wet wood can cause tools to slip, which might lead to an increase in accidents.
- Shrinkage and Warping: when it dries, wood experiences some degree of shrinkage, and depending on how it has been used or stored, this can cause warping or splitting.
Green Wood

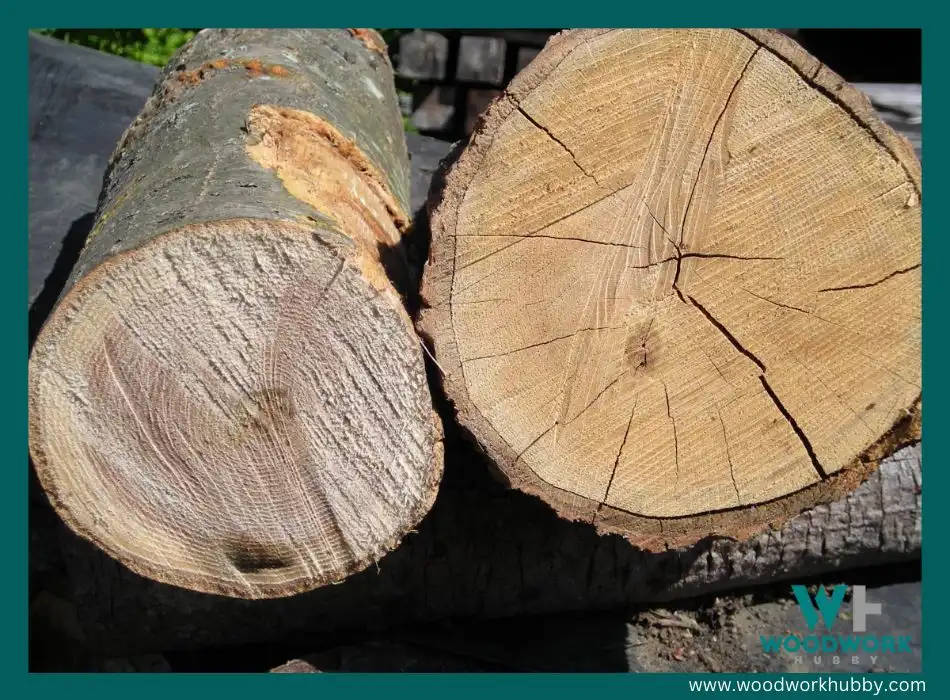
Wood that is freshly cut and green still retains much of its moisture. If you intend to cut down your own wood, this will be an issue you will come across. Green wood can cause several problems for tools and the finished look of your piece.
Most importantly, it will not look the same before and after drying. This means you may construct a beautiful piece of furniture out of fresh wood that you procured from a local forest, and then when it fully dries, there will be splitting, warping, and sometimes discoloration.
Wood Stored Outdoors

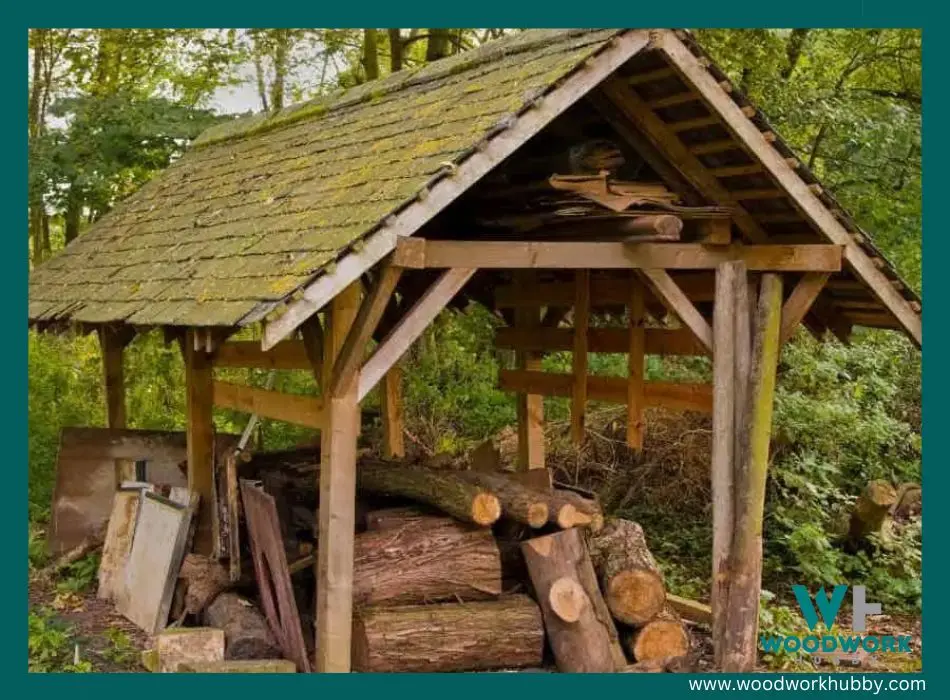
If your seasoned wood has been stored out in the weather or in an area with high relative humidity, it may require drying before being used for woodworking.
You will also want to check for discolorations caused by a fungus, wet rot, and decay. Raw wood that was not kiln-dried and is improperly stored or left out in the weather is a prime breeding ground for various molds. You will want to carefully inspect each piece before using it for projects.
Oven Drying Method
This is by far the most time-intensive option, but it can also produce the most accurate results. It also requires a specialized oven or kiln to dry out the wood enough to get the temperatures needed. If you do not have reliable access to one of those, it will not be a useful method.
To measure the water content using an oven, you would need to cut off a piece of the wood and then slowly dry it out, weighing it every fifteen minutes until it reaches a steady weight which means all the water has been evaporated.
How long it takes will depend on the oven used and the original water content. Once you have fully dried out that sample piece, then you will compare the weight to the wood it was taken from. This will give you precise measurements.
For more information about the oven drying method, you can use this Agriculture and Life Sciences by the University of Wisconsin-Madison. They provide detailed step-by-step instructions that can walk you through the entire process from start to finish.
How to Determine Wood Moisture Content
You can measure how much water is within the porous material of the wood by exposing it to electricity. There are a number of methods for doing this, and we will go over the most common, which are oven drying, pin-type moisture meters, and electromagnetic sensors.
There are limitations to each of them, and the chemical makeup of wood varies from species to species, so the readings can sometimes only give a ballpark figure. For pin and pinless devices, the species of the wood might impact readings.
Pin-Type Wood Moisture Meters

A much easier way to measure moisture is by using a pin-type meter. There are a number of different styles, but the process is the same. The device measures any resistance of the electrical flow between two pins placed within the wood. You will need to actually place the pins inside the wood to get this reading, so there will be small marks leftover.
Limitations of Pin-Type Moister Meters
You will need to take quite a few readings to get an overall average moisture percentage for the wood because the meter can only read the space between the two prongs. There is also the unfortunate fact that you are going to have a fixed depth to the measurements that you get.
The reading can only go as far as the pins can reach, meaning if they are not used properly, they may not be entirely accurate. Always follow the manufacturer’s guidelines to get the most accurate read.
Electromagnetic Sensor Pads
This is one of the most commonly used options because it is straightforward and doesn’t require specialized knowledge. You can get an electromagnetic sensor from a hardware store or online.
These are excellent for measuring larger areas quickly and with more accuracy than a pin-type meter. They do not require physically penetrating the wood in any way, so there will be no holes left behind. Harder woods may also cause the pin to become bent which will render it useless.
Limitations of Electromagnetic Sensors
While the technology is constantly evolving right now, most affordable pinless sensors are going to be affected by surface moisture on the wood, which might mess with readings.
There are some devices that are a little more expensive and have trademarked technology that ensures they only measure water inside the wood; this is not consistent across all brands and models.
The Ideal Moisture Content For Woodworking
We have already mentioned that wood does best for woodworking when the water content is between 6% and 19% depending on whether it is being used for indoor or outdoor projects. Anything lower or higher can cause potential damage to the wood and make it more dangerous to work with.
Here are a few additional things to keep in mind when looking at moisture content in wood you intend to use for projects.
- Wood for furniture or indoor projects should have a moisture content of below 8%
- Wood is continuously absorbing and releasing moisture based on the water vapor in the environment
- Wood shrinks and expands across the grain as it releases and absorbs moisture
How to Store Wood to Keep It Optimal For Woodworking
Unseasoned or green wood should be stored outdoors so it can breathe and evaporate water. However, seasoned wood should be stored indoors in an area that gets plenty of circulation and stays at a steady relative humidity.
If you do not have a temperature-controlled shop or space, then a dehumidifier might be a good investment. Dehumidifiers can pull water vapor out of the air.
Ideal storage for your wood will involve some or all of the following.
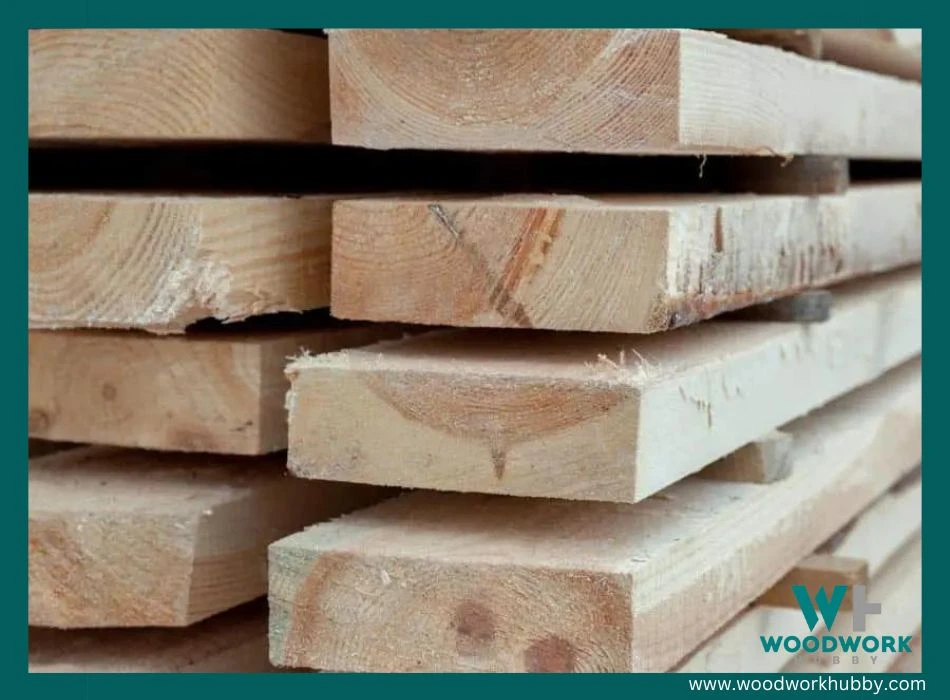
- Small support boards placed strategically every eighteen inches or so horizontally. Doing that can keep the wood from bowing, and if you are stacking vertically, then they will allow airflow between the larger boards above and below them.
- Try not to stack wood too high on top of each other because this might save you space, but it will suffocate the lower boards and add stress throughout the stack.
- Try to keep it away from areas with a high degree of temperature fluctuation, like large windows and frequently open doors.
How Long Can It Take Wood To Air Dry?
Wood generally dries at a rate of 1 year per 25mm of board thickness provided it has sufficient air circulation around it.
The type of wood, dimensions, and storage location are both going to be important factors when determining how long it will take wood to dry to a desirable level of moisture content.

Fully drying out a larger piece of wood can take anywhere from two to twelve months. This is one reason why most woodworkers purchase pre-dried wood rather than sourcing their own local wood.
Ventilation and Exposure
How much of the wood is exposed and what degree of ventilation can reach each side of the wood will be important when trying to air dry your wood in an enclosed space.
If you have a whole stack of wood, you will want to create spaces between them by putting them on racks or placing thin boards between them, which will make a pocket for air to move through. How well air circulates will also play a part in how fast it dries.
Alternative Ways to Dry Wood For WoodWorking
Maybe you already have some fresh local lumber that you want to turn into woodworking materials, or you need to dry out a pile of wood that has been out in the weather for a prolonged period.
In certain instances, you can try using alternative, faster methods for drying. Most of these require you to have a space set aside expressly for this task. If you do not have a large shop, shed, or garage, then you might benefit from merely buying your wood with the right moisture content as needed rather than storing and having to hassle with the drying process.
There are various heat treatments you can use to thoroughly dry out green or wet wood. You can use an oven or kiln if you have one available, or you can heat the space where you are storing the wood (e.g., garage, heated shed, etc.).
If you are trying to dry it in a storage space, then it is important that as much wood as possible as access to the air and that there is proper ventilation. Stagnant air or pieces that only have one or two sides open to the air will lead to uneven drying.


