Every woodworker will often come to a point where mistakes happen and we look for a quick fix to get us out of trouble. An accidental hole or a chip out of the wooden surface could one of many scenarios where we look to fill it up and carry on. But what if you need to screw through the filler? If that happens, can wood filler hold a screw?
Wood filler can hold a small screw that does not bear weight, but it does not have the structural strength over time to support large screws that carry load and stress.
Most wood fillers on the market will claim that their products dry rock hard and can be drilled to take a screw. While this part is true, wood filler simply does not have enough structural capacity if your screw is holding joints prone to movement or they carry load or stress.
In saying this, I think some wood fillers are perfectly fine if you intend to drive in short screws that do not carry any stress. In this case, you would first need to ensure you are using an epoxy or two part filler to ensure it sets hard enough.
The Products I Used 💭
I have listed all the products used throughout this article in a list at the end which can be found here. These items are what I consider necessary to be able to screw into wood filler.
Can You Drill Into Wood Filler?
Wood filler can be drilled successfully with a small pilot hole after it has fully cured. For best results, the wood filler should be a two-part epoxy or multipurpose type to ensure cracking does not occur.
Always start with a small pilot hole let’s say 1/8″ and then slowly use bigger drill bits if you need a larger hole. As I mentioned most two-part epoxy or multipurpose wood fillers will handle a hole being drilled in them.
Take a look at this video showing me drilling into wood filler.
How To Fix Stripped Out Screws
I find the most common question I’m asked is “How do I fix a stripped out screw hole”. Usually, this occurs on doors inside the home where a door has been taken off then put back on a few times for painting or flooring to go in.
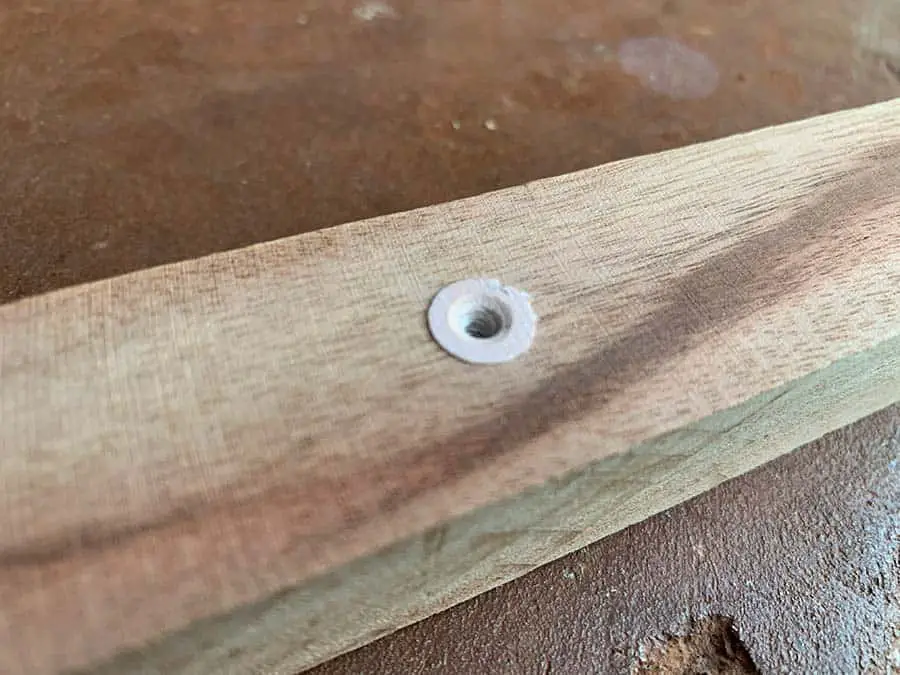
The screw holes for the hinges usually get worn out and when you try to drive the screw back in, it just spins. This is where most people oft for using wood filler to fill the screw hole. So how do you fix screws that won’t tighten?
I would definitely not recommend using wood filler for this application. Wood filler does not have enough structural strength or trusted strength to support a whole wooden door.
This may seem like an easy fix but there is actually a much better way and quicker way to fill a screw hole and know that the screw will hold. Wood filler could be used as a short-term fix only.
How To Reuse Screw Holes In Wood
There are 2 ways to fix stripped out screw holes other than using wood filler. I have listed these below along with the steps needed to complete each one.
Match Sticks Or Wood Strips (Beginner Option)
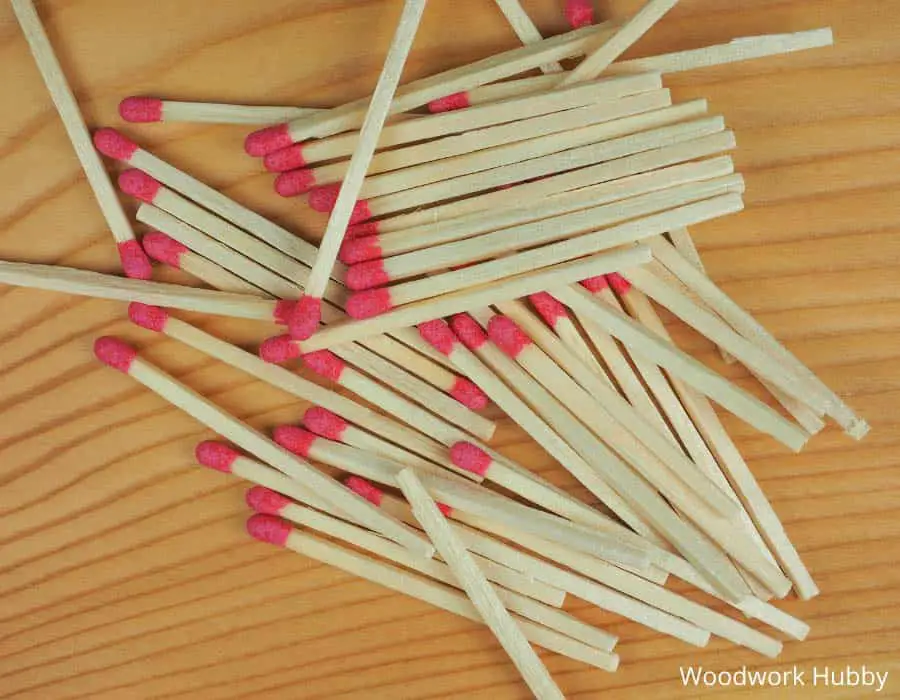
This is not the preferred method but will do the job and it will be stronger than wood filler.
Materials Needed
- Match sticks or small slithers of wood
- Good quality wood glue
- Hammer
- Sharp Chisel
- First, clean out the old screw hole as best you can to remove any loose wood fibers
- Take some match sticks and coat them in wood glue. I recommend one of the Titebond glues
- Insert match sticks into the hole and gently tap in with a hammer
- Continue to add match sticks until the hole is full
- Wait a few hours for the glue to dry
- Take your chisel and hammer and cut off the excess match sticks that stick out of the hole
- Select the right size drill bit for a pilot hole and pre-drill a hole for the screw
- Insert screws back in – Job is done!
Using match sticks does leave a few gaps between the match sticks and is reliant on the wood glue holding everything together. This will work but there is a better option.
Wooden Dowels (Best Option)
If a job is worth doing, it’s worth doing right! Woodwork Hubby’s favorite saying.
Wood Filler Stripped Screw Hole
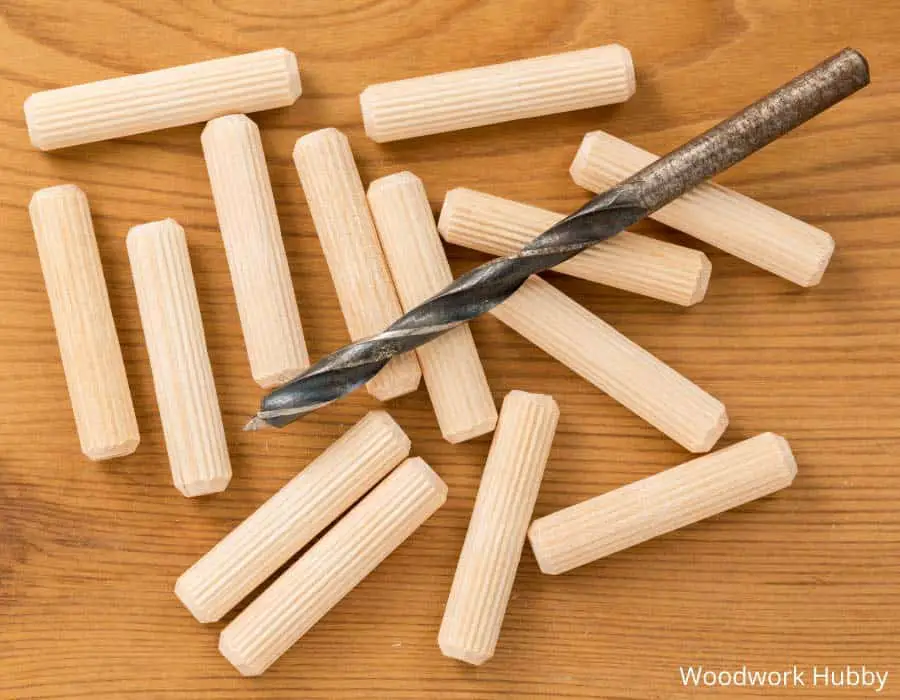
The best way to fix stripped-out screw holes, especially in hinges is by inserting a wooden dowel. This may seem harder than using wood filler or match sticks but it actually takes less time and is much stronger.
Materials Needed
- Small wooden dowels
- Good quality wood glue
- Hammer
- Sharp Chisel
I have written out a simple-to-follow set of steps below on how to insert wooden dowels:
- Select the right size wooden dowel – You can buy small pre-cut dowels or buy a 1-meter length and chop them up yourself. I would try to find one that is 1/8″ (3mm) or 3/16″ (5mm) round. Size does not matter. You can use fluted dowels if you wish. Fluted dowels just allow the glue to squeeze out.
- Drill out the existing screw hole – After you have selected the right size dowel, you will need to drill out the stripped-out hole to fit the dowel. If your dowel is 3/16″ in diameter, grab a 3/16″ drill bit or even a 1/4″ and drill out the hole so that the dowel slides in easily. Do this for each hole that is affected. The dowel should not be a super tight fit.
- Apply glue to your dowels – You should use good quality wood glue here (I suggest Titebond from here). Put a thin coating of glue all over the dowel.
- Insert the dowels – Take your hammer and gently tap your dowels all the way in. If dowels almost get all the way in and pop out a small amount, do not worry. This just means the glue has provided an airtight seal and the air behind the dowel cannot escape. This is why it was important to drill a hole slightly larger than the dowel diameter. It will still work so do not worry at this point.
- Let the glue dry – Wipe away any excess glue with a damp cloth and leave the glue to dry for around 6 hours at the least depending on external conditions. Read more on why your wood glue may take longer to dry.
- Cut off excess – Once the glue has set, you can use a sharp chisel or small flush trim saw (if you have one), to cut the excess dowel off flush with the wooden surface.
- Pre Drill new holes – Now that you have plugged up the old holes with the dowels, you need to make some new holes for the screws to go back in. I highly recommend you pre-drill the dowels as you will be screwing into the end grain of the dowels. See here for selecting the right size hole. Try to ensure the hole you drill is in the center of the dowels.
- Put screws back in – Now it’s time to put the screws back in. The dowels will provide plenty of wood for the screws to bite into.
- The job is done!
Screw Into Wood Filler
Wood filler can be screwed provided a pilot hole is drilled first. The pilot hole prevents the screw from forcing the wood filler apart and cracking it.
Screwing Into Wood Filler
Here is the process I would recommend you follow if screwing into wood filler:
- Select a drill bit to drill a pilot hole
- The pilot hole should be the same size as the shank of the screw but smaller than the threads
- Slowly screw in the wood screw but do not over tighten
Wood Filler In A Hole Is Stronger (Tested)
Maybe you need to use some wood filler in a hole or maybe it’s on the edge of a piece of furniture. I often wondered how well wood filler would go if I put a screw into it in these scenarios.
I did a real test using a couple of types of wood filler. I then applied the multi-purpose wood filler and a two-part epoxy filler to a 10mm hole in the center of a piece of wood. I also applied them to the edge of a piece of wood to a notch out.
- All wood fillers were pre-drilled to take a screw
- A screw was driven halfway through the filler in each spot
- Weight was then applied to each screw to see if the wood filler would fail
How To Apply Wood Filler To Hold A Screw?
These are the steps I follow when applying wood filler to a hole and surrounding surfaces:
- Surface Preparation – Ensure the surface where the wood filler is to go is free from dust. I also clean the area with wax and grease remover. This helps remove any oily residues to give the wood filler the best chance to stick
- Prepare the Wood Filler – Mix the wood filler thoroughly first as directed by the label
- Apply the wood filler – Use a putty knife or broad scraper to apply the woof filler. I always apply a little extra as it can be sanded off later. Its better to overfill the hole.
- Allow the wood filler to dry and cure – I always leave the wood filler dry for at least 24 hours before I attempt to screw into it. Sometimes a longer dry time is required depending on the air in your shop. Always follow the directions on the can.
- Finishing – Once the wood filler is fully hard, you can shape it with a sharp chisel or sandpaper. I recommend using 120 grit and cleaning your paper regularly to avoid clogging
- Screwing into wood filler – Use a drill bit to drill a pilot hole in the wood filler. This step is vital to ensure you don’t crack the wood filler. For tips on selecting the right size drill bit.
Conclusion – Can Wood Filler Hold A Screw?
From the results, I could clearly see that the wood filler inside of a hole was going to be stronger because the wood supported the filler on all sides.
Wood filler on the edge of the wood experienced slight cracks after weight was applied to it. This made me a little nervous as to how strong the wood filler was.

Is Wood Filler A Good Idea To Hold a Screw?
Based on my tests above, I would never recommend using wood filler as a long-term sustainable medium to hold a screw in place.
Like I mentioned earlier, if you were only using a small screw to hold something decorative then it might be ok. If the screw was to hold a joint or was exposed to any stress or movement, then there is a good chance the wood filler could fail.
You must also consider the bond between the wood and the filler and how strong that is. In my tests, after pulling on the screw, the wood filler actually moved out of the wood ever so slightly. Another cause for alarm was that I could not trust it.
FAQ
Can You Screw Into Plaster Filler?
Plaster filler is much more brittle than wood filler and is not sctrong enough to hold a screw.
What Wood Filler Is Drillable?
Most wood fillers are drillable. The 2 that I suggest include:
Items I used In This Article
Here is a full list of the items and products I used throughout this article which I consider necessary to screw into wood filler. This will make it easier for you to get your project started.

