You have a handful of wood pieces from a series of your past woodworking projects. You’d like to do something with them in the future, but that would first entail you filling in some holes and gaps. Can you spackle wood joints or do you have to use another product for it?
You can spackle wood joints, apply the spackle, and then use a sander to remove any excess spackle on the wood. Spackling is a wood filler that might require two coats depending on the extent of the holes you’re trying to fill or the imperfections you want to hide.
Ahead, I’ll talk in much more detail about spackling wood joints, including the difference between spackle and joint compound. By the time you’re done reading, you’ll know how to fill in wood and with what!

Can Spackling Be Used as Wood Filler?
Sure, you can just go to your local home improvement store and pick up some wood filler, but you’re a little short on time and behind the deadline on your latest woodworking project. If you can stay at home and just as effectively fill in wood gaps and openings, that’d be great.
Did you know can wood filler can hold a screw? Find out here.
Fortunately, it’s spackle to the rescue! How do you use spackle as a wood filler?
Here’s how to apply spackle as a wood filler:
- Sand down as many imperfections on the wood as you can
- Apply spackle on the wood with a putty knife
- Let the spackle dry
- Sand the area to remove any extra spackle
Let me elaborate on the steps above here.
Step 1: Minimize Wood Imperfections
Yes, technically the job of the spackle is to reduce imperfections in the wood, but you can do your part before you begin spackling to make your job even easier later.
You’ll need a sanding block for this step. Go over the entirety of the wood with the sanding block, focusing especially on those areas that need the extra help. Buff out as many imperfections as well as you can.
When you’re finished, use a clean, soft cloth on the wood to pick up any traces of sawdust.
Step 2: Apply Spackle
Now you’re ready to get started spackling.
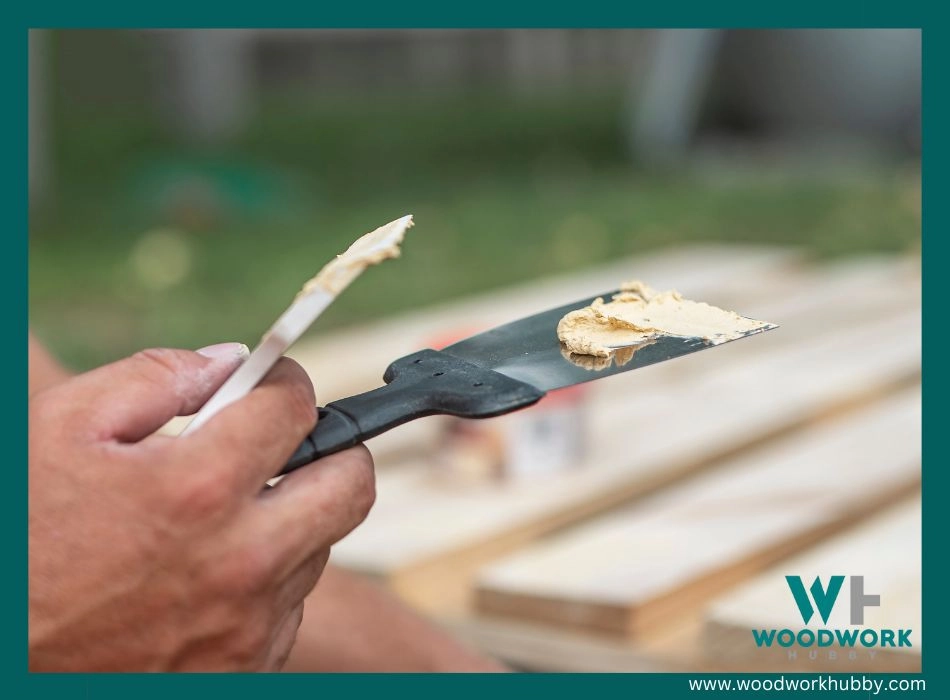
Open your container of spackle. Dip a clean putty knife into the jar and then smear spackle on the wood along the joint. You need only as much putty as it takes to cover the trouble areas.
For smaller areas, you can use an equally-sized putty knife that’s ¾ inches. Putty knives are available up to four inches, so increase the size according to the extent of your project.
To spackle effectively, press the spackle into the wood openings using your putty knife.
Step 3: Scrape Off the Excess Spackle
Even if you’re precise about it, you’ll probably end up applying more spackle than you need. Run your putty knife across the piece of wood to gather up the excess spackle. Put it back in the jar for next time.
Step 4: Give the Spackle Time to Dry
Now that you’ve applied your first layer of spackle, you need to allow the stuff time to dry. The average amount of time it takes for the spackle to completely dry is up to 24 hours, but it will be mostly dry in an hour or two. I recommend deferring to the instructions on your spackle jar for drying times.
Step 5: Sand the Wood
Using your sanding block yet again, scrape away any areas where there’s too much spackle. Moisten a cloth and wipe the wood until all the sawdust is gone.
Step 6: Assess the Wood
Now that you’re done sanding, take a look at your wood piece from all angles. Are you satisfied with how well the spackle filled in the openings of the wood? If you are, then great. Consider this stage of the project done.
Step 7: Reapply Spackle as Needed
If you’re not quite pleased, that’s okay too. Many woodworkers have found that it takes two, sometimes three layers of spackle to adequately fill in wood openings. Follow the steps above as necessary.
Can I Spackle Instead of Joint Compound?
A fellow woodworking buddy might have told you to use joint compound for filling in wood gaps rather than spackle. Before I can recommend joint compound instead of spackle or vice-versa, I want to make sure you’re clear on what both are.
Spackle can be used instead of joint compound although only on smaller areas. For large joints of holes, Joint compound is a better option.
Spackle is a type of putty that’s intended for use on plaster, drywall, and wood. It can remove surface defects, cracks, and holes, although not large ones. Most spackle is made of gypsum plaster that’s sourced from a combination of glue and hydrated calcium sulfate.
Check out the difference here between wood filler and wood putty.
Joint compound, on the other hand, is known as a drywall compound. It too is gypsum, although in dust form. By combining the dust with mud or water, you get a product that’s likened in consistency to cake frosting.

As I illustrated in the last section, you can indeed use spackle on wood. If you’d prefer to apply joint compound on wood holes and openings, you can do that as well, but how? Here are some handy steps.
Step 1: Prepare the Joint Compound
It’s less messy and more convenient to use water with the gypsum powder that is joint compound. On the packaging of your product, you’ll be told the correct ratio of water to powder to use. Please follow that ratio and then stir the ingredients until they become paste-like.
Step 2: Use a Putty Knife to Apply the Joint Compound
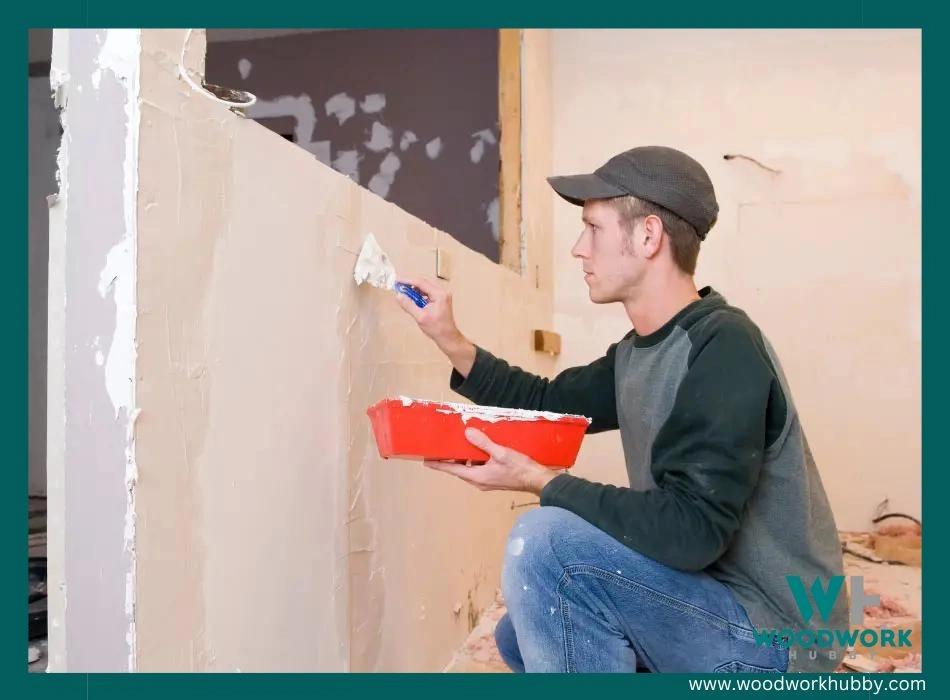
This next step should sound familiar to you, as it mimics the steps from earlier. With your clean putty knife, apply the joint compound onto the wood. Ensure that the compound gets into the wood and that there isn’t too much excess left.
Step 3: Remove Extra Joint Compound with a Damp Cloth
You can rub away the extra joint compound with your putty knife after applying it, but for whatever is left, a damp, soft cloth is safe to use on the wood. Don’t let the compound dry or it will be harder to get rid of it.
Step 4: Allow Time for Drying
Ideally, you want to give the compound a while to dry, such as for the rest of the day and until the next morning.
Step 5: Sand Away the Joint Compound Residue
Did you miss any joint compound while you were wiping your piece of wood with a damp cloth? That’s no biggie. With 240-grit sandpaper, sand the wood block. Follow the grain of the wood as you apply the sandpaper to avoid scratches.
Unlike using spackle on wood joints, your wood should be smoother and less holey after one application of joint compound. That said, if you’re not happy with how the wood looks after the first application, you can always apply more.
Can I Paint Over Spackled Wood?
Thanks to the information in this guide, you were able to successfully spackle your wood joints. You want to paint the wood, but now that you’ve spackled it, you’re not so sure. Can you paint spackled wood?
You can paint spackled wood, and you don’t even have to wait until the next day to do it. Spackling will dry off quite quickly meaning it can be painted the same day.
Let me talk a little more about this. As you’ll recall, spackle needs at least 24 hours to dry completely. However, it’s usually considered dry enough within an hour or two, as I said before.
If the area you spackled is significantly large, then maybe wait two hours. For small areas of spackle though, you can start painting within 60 minutes of application. That’s good news for you, as you can paint your spackle-treated wood in that little time as well.
Painting wood is a great way to hide the fact that you spackled the wood in the first place. When you paint, your brush should glide over the spackled areas as easily as it does the untreated portions of the wood.
Conclusion – Spackling On Wood Joints
Using spackle or joint compound on wood joints are two viable options for lessening holes, cracks, and other imperfections. You’ll need a putty knife, a soft cloth, and a sanding block for this project. With the wood mostly dry in an hour, spackling wood joints doesn’t have to delay progress on your project for long!

