Gluing joints is no woodworker’s favorite part, and letting the glue dry can be as boring as watching paint dry. Is wood glue sandable? If you don’t want to mess up a well-crafted joint, you better learn from others’ experiences. And I have 20 years of it.
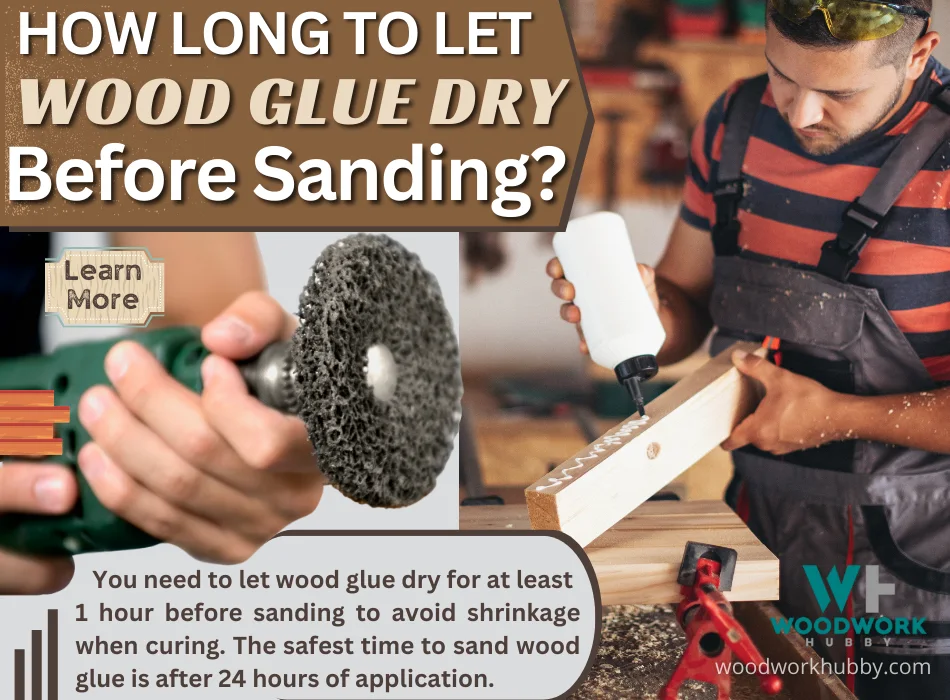
You need to let wood glue dry for at least 1 hour before sanding to avoid shrinkage when curing. The safest time to sand wood glue is after 24 hours of application, as the volume of the adhesive is not going to change.
In this article, you will learn about when the clamps go on and come up, when sanding is light and when it is not, and how to strengthen wood joints. And it all starts by understanding the glue-ups drying journey.
Be sure to see my most popular article explaining why won’t my wood glue dry?
The Three Stages of Glue-up
I have worked with dozens of adhesives in my woodworking practice, and different glues have different waiting periods but go through the same curing journey.
If you know the three parts of this journey, you will be able to make a call regarding clamps and sanding, regardless of the glue you use.
Stage 1: Pre-dry Period (15 Minutes)
This is when you can adjust the glued board or plank, move the clamps, and change positions where required. Moving things in the pre-dry period might be okay, but it is not the best course of action. You should try to place things perfectly, so they don’t need to be moved at any point down the line.
Stage 2: Drying Period (30 Minutes – 1 Hour)
From 30 minutes after application, the wood glue starts to dry up to the point of not requiring clamps. The maximum I’ve had to wait was 1 hour. Even slow-drying adhesives are pretty set after 60 minutes of application.
Please note that this time period starts after application and clamping and not since the end of the pre-dry period. Given that the pre-dry period is 15 minutes, the complete drying time is 15 minutes to 45 minutes after the pre-dry.
The total time you have to keep the clamps on is about 1 hour at a maximum. The clamps ensure that the volume change of the glue doesn’t affect the placement of the joint. The water content in the glue has to dry before the glue is fully cured. And while this happens, the volume of the glue is static.
Stage 3: Curing (24 Hours)
After 30 minutes to 1 hour, the glue-up is ready for light sanding. However, it should not be confused with it being cured. The curing period is 24 hours though most clamps are off by then.
Some stressed joints might require clamps even after the glue is dry. The safest time to sand glue is when it has fully cured.
How Long Should Wood Glue Dry Before Sanding?
While it is generally harmless to sand glue after 30 minutes to 1 hour of waiting, there are instances where the glue depresses and shrinks for up to 24 hours after sanding. This is a very suboptimal situation. If you have no experience with glue-ups before, you should err on the side of waiting longer.
To make this clear, I will go over what happens when the glue is sanded too early.
Are you using PVA or wood glue? Find out what the differences are in my article.
For this, we will use the example of two slabs of wood being held together in parallel with a layer of wood glue. The glue starts to expand due to humidity and heat. It is the water in the glue taking up more volume that causes this expansion.
When you sand it away too quickly, and the glue shrinks in volume as the water evaporates, the remaining glue runs too thin. This can lead to a depressed joint.
Let’s contrast this with what happens when you let wood glue cure completely and then sand the joint. Let’s suppose the glue-up we previously discussed has been sitting for a whole week without sanding. What Is the Consequence?
Is Wood Glue Sandable?
I know because I forgot to send one of my glue-ups and returned to the shop a week later. Sanding becomes difficult but is still possible. Epoxy resin is much harder than dry wood glue, and it can be sanded after months of curing. So there is no reason for wood glue to have a maximum time limit for sanding.
That said, most of us don’t want to leave projects alone for multiple days. So what is the time after which sanding wood glue becomes as safe as it can be?
In my experience, you have to wait for 24 hours for the safest time to sand a joint after gluing.
The riskiest time to sand is between the 30-minute and the 1-hour mark because it is when the glue is dry enough to sand but has a water content that might leave and shrink the glue volume.
You will sometimes notice the glue bubbling up out of the seams and then settling down on its own. This is the phenomenon covered earlier in action.
How Long To Leave Clamps On?
Now that you know that the safest period before sanding is 24 hours, you might wonder if the clamps need to stay on for a whole day as well. If you don’t have any other projects that require the clamps, you can feel free to keep them on for 24 hours.
The clamps must stay on for one hour on unstressed joints and 24 hours on stressed ones. As long as the glue volume change won’t move the joints, the clamps can come off. This also depends on the area you live in.
High humidity can speed up curing, while low moisture can slow the process down. As long as the volume of the glue is not permanently set, you can use clamps to set the glued-up joints in place.
Pro Tip! – Don’t rush, I always like to leave the clamps on for 24 hours.
Can You Sand Wood Glue as It Dries?
Wood glue should not be sanded as it dries as you will cause the glue to mess up other parts of the wood and your sandpaper will clog up immediately. Sanding the wood glue before it is dry provides no benefits.
You might be tempted to sand wood glue, but it is not prudent to do so. Sanding is best delayed than done prematurely. That is because the drying process changes the total volume of the adhesive.
You cannot sand wood glue as it dries because the glue expands and shrinks in volume during the drying process.
The video shows some tips for dealing with glue squeeze-out.
Glue can easily get lodged into the sanding paper as it dries. But the more important consequence of sanding too early is that the glue runs thin. Given that some joints can stick together without an adhesive, many woodworkers can get away with sanding glue too early.
It is only with joints that experience stress that one can see the effects of premature sanding.
Since wood glue sanding is contingent on its dryness, knowing how long you must wait before sanding wood is very important.
Types of Wood Glue and Drying Time
| Glue Type | Drying Time | Curing Time |
|---|---|---|
| Cyanoacrylate Glue | 15 minutes | 8 hours to 24 hours |
| Polyurethane Glue | 30 minutes | 24 hours |
| Polyvinyl acetate (PVA) | 30 minutes | 24 hours |
| Animal or hide Glue | 10 hours | 24 hours |
| Epoxy Glue | 1 to 4 hours | 1 to 7 days |
The types of wood glue covered above might confuse some people because of their vast differences in drying and curing times.
In this section, we will explore each one alongside how forgiving they are too premature sanding.
Cyanoacrylate Glue
This is the adhesive commonly known as “super glue.” It dries to touch at around 15 minutes, relatively quickly. Best for joints that aren’t stressed, this glue can work on wood, among other adhesives.
It doesn’t expand or contract visibly, but there is a change in volume over an 8-hour period. The best time to sand Cyanoacrylate-based adhesive is after 24 hours. It is relatively easy to sand even a few days after curing.
Polyurethane Glue
Polyurethane glue is more common in putty-type adhesives that flexible and rubbery. This glue type isn’t very good for tight joints, but it is excellent for filling gaps. Its expansion and contraction aren’t too evident, but if you pour it in excess, you might notice some of it bubbling out of a crevasse.
It remains wet for around 30 minutes, during which it cannot be sanded. After it cures (30 minutes later), you can try sanding it.
The problem is that its flexibility makes it very difficult to sand. Instead, you can use a razor or a sharp knife to remove the excess Polyurethane glue.
Polyvinyl Acetate (PVA)
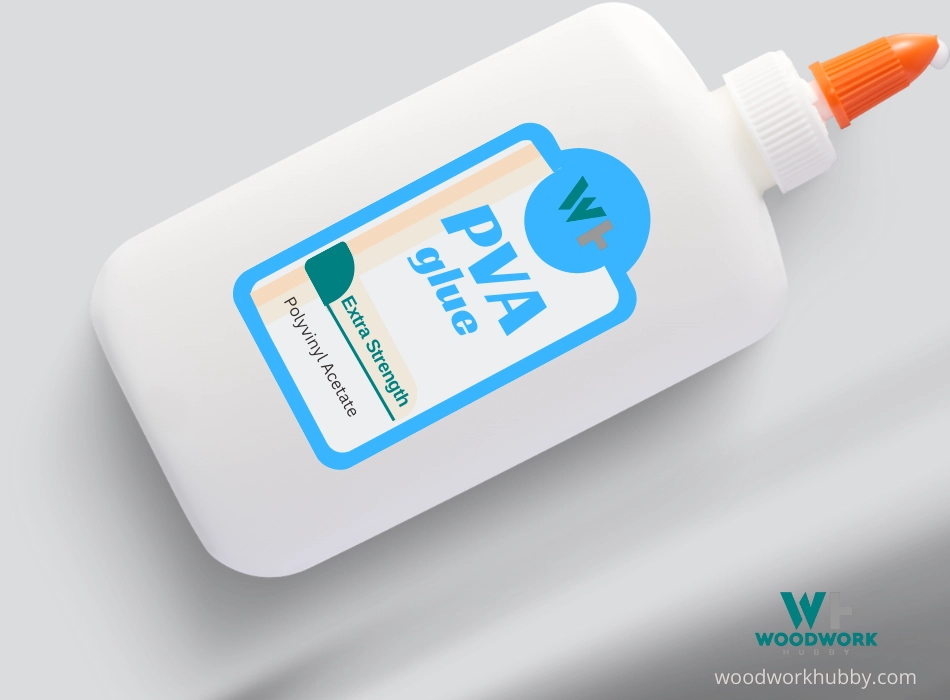
PVA is a pore-grabbing glue that is commonly used on paper and wood. It doesn’t have a lot of strength, so using it as the sole adhesive mechanism in a glue-up is not recommended. However, it can be used to hold joints in place.
This glue is white, and its expansion is obvious. Premature sanding of PVA can make your sandpaper dirty. So do not even attempt sanding before 30 minutes. The best time to sand it is after 24 hours, though, because that is when it fully cures.
Animal or Hide Glue
Animal glue is made from the connective tissue of animals and is applied at a hot temperature where it is liquid and then allowed to cure at room temperature. It is one of the most resilient adhesives yet is also the most shape-changing across its lifespan.
It takes a few hours to be solid to tough and is functionally cured in a day. However, it can always be liquified with heat, which makes it unsuitable for sanding.
Epoxy Glue
Finally, the epoxy adhesive is one of the most solid adhesives that can be sanded even weeks after curing. That’s why it is a good idea to start by erring on the side of caution and giving this glue 24 hours before attempting to sand it.
It can be used in positions where it is the only adhesive mechanism and also in ones where it plays a contributing role alongside a joint or a clamp. Epoxy glues can have different contents and different drying periods.
On the low end, epoxy is dry to the touch within an hour. But there are also epoxies for which even 4 hours of drying time is not enough.
How Much Wood Glue To Use
Excessive amounts of wood glue can extend the drying time of a joint. This is the basic rule of thumb I follow:
Only apply a thin film of wood glue completely to each adjacent piece being glued. Ensure that every part of the wood joint is covered but do not use excessive glue.
You should understand that using too much glue, always results in a longer dry time. This does depend on the type of glue you are using and is best to follow the manufacturer’s recommendations.
If you follow my rule above though, you won’t go wrong!
Wood Glue and Sanding FAQs
Can Wood Glue Be Sanded?
Any glue that cures a solid finish is sandable. This includes gorilla glue, most wood adhesives, and adhesive resins. You have to wait for the glue to fully cure before sanding, though. Glue can be dry to the touch but still not cured for sanding.
To be sure you can sand glue, you can do one of two things. The first is to look up the specific curing time for the glue you’re trying to sand. And the second is to simply wait 24 hours. In my experience, almost all wood glues are ready to be sanded 24 hours after being applied.
Is Elmer’s Wood Glue Sandable?
Elmer’s wood glue is sandable, just like PVA glue backed by any other brand. But before you sand it, you must let it rest cure for 24 hours. Only when the glue is fully cured is it conducive to sanding.
Is Titebond Wood Glue Sandable?
Titebond Wood Glue is a resin glue that is one of the most sandable adhesives for wood. Thirty minutes after applying Titebond, wood glue can start getting dry to the touch. But it takes 24 hours to cure, after which you can proceed with sanding.
Can You Sand Over Wood Glue?
You can and should sand over wood glue but only when it is dry. If you sand wood glue before it is dry, you will damage the sandpaper. More importantly, the joint will not have decent adhesion because of the glue shrinking.
Can You Sand Wood Glue After It Dries?
You can sand wood glue after it dries, which is why it is better to err on the side of caution and wait longer. That said, waiting any longer than 24 hours won’t yield any additional benefits, so you should sand the glue right after that.
Final Thoughts – Sanding Wood Glue
It is best to let wood glue dry for at least 1 hour before sanding to avoid shrinkage when curing. But the safest time to sand wood glue is after 24 hours of application, as the volume of the adhesive is not going to change.
Even though there are differences in the drying time with the different types of glue, such as the Cyanoacrylate Glue, which dries in 15 minutes, the safest time to sand is also 24 hours.
FAQ
Can Wood Glue Be Sanded?
Wood glue can be sanded once it’s fully dried. Sanding helps smoothen the surface and remove any excess or uneven glue, resulting in a neat and even finish. However, it’s essential to allow the glue to dry completely before sanding to achieve the best results.
How Do You Make Wood Glue Dry Faster?
To speed up the drying process of wood glue, there are a few techniques you can try. First, ensure the workspace is well-ventilated and at an optimal temperature, as higher temperatures generally facilitate quicker drying.
Additionally, using a thinner application of glue and applying light pressure to the bonded pieces can help expedite drying. However, be cautious not to compromise the bond strength by rushing the process excessively.
How Long to Let Glue Dry Before Planning?
To ensure a strong and reliable bond, I advise letting the glue dry for at least 24 hours before planning. Waiting for this duration allows the glue to reach its maximum strength and ensures that the planning process won’t disrupt the bond.
Does Sanding Help Glue Stick?
Sanding can improve the adhesion of glue to the wood surface. By sanding the wood before applying glue, you create a slightly roughened texture that provides more contact points for the adhesive. This enhanced surface area improves the overall bond strength.
Does Sanded Wood Glue Better?
Sanded wood glues well but is not always necessary. When you sand the wood surface before applying glue, it removes any contaminants, smooths out imperfections, and creates a porous surface. This improved surface allows the glue to penetrate more effectively and results in a stronger bond between the wood pieces.
I Need to Fill a 1-inch Hole with Wood Glue. How Long Does This Take to Dry?
The drying time for filling a 1-inch hole with wood glue can vary depending on the type and brand of glue used. Generally, it’s recommended to allow 24 to 48 hours for the glue to dry completely.
Can You Speed Up the Cure Time of Wood Glue With Heat?
Applying gentle heat can speed up the cure time of wood glue. Warm temperatures can accelerate the evaporation of moisture from the glue, promoting faster drying.
However, avoid excessive heat, as it may compromise the glue’s integrity and lead to a weaker bond. Use heat with caution and always follow the manufacturer’s recommendations.

