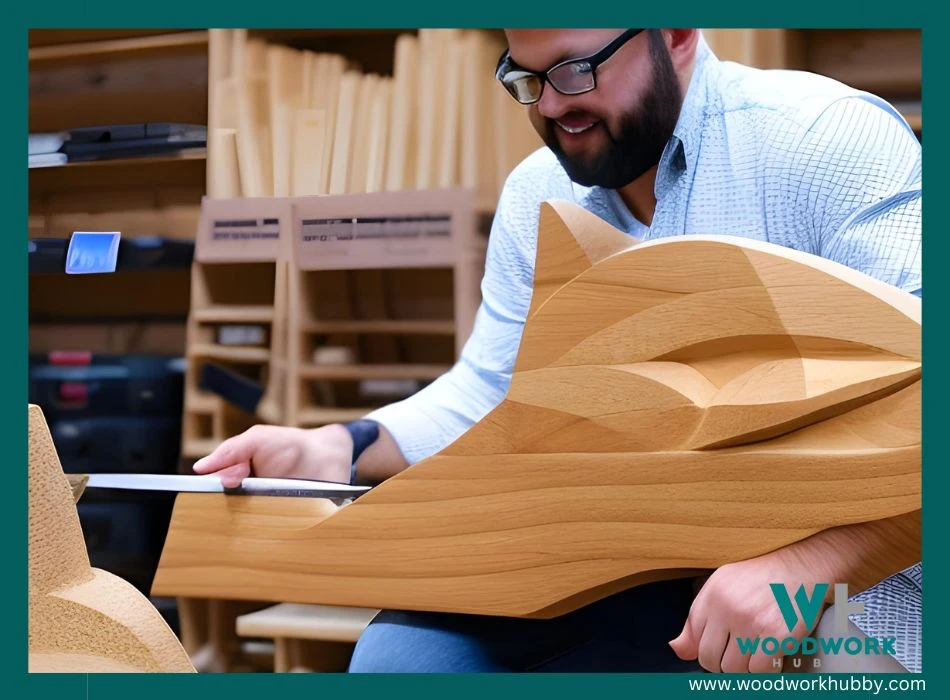
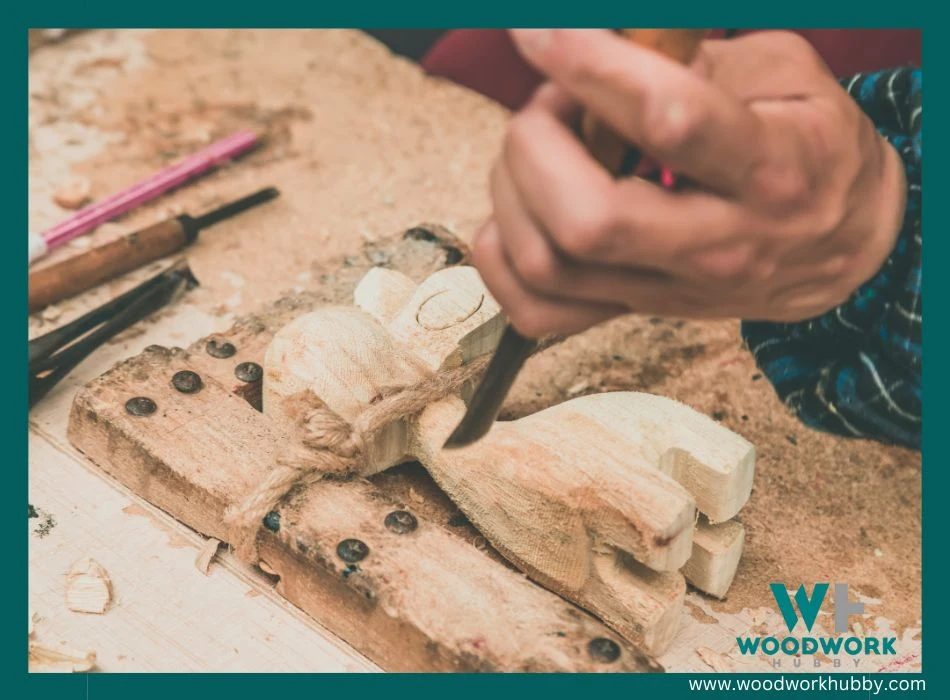
Looking to launch into the rewarding craft of wood carving? I’ve been there too – with ideas spiraling and just an eagerness to create, but a bit uncertain where to start. Indeed, according to expert woodcarvers, starting with animal carvings is one of the simpler and more enjoyable beginner woodworking projects!
This easy-to-follow guide will walk you through choosing the right tools, mastering basic techniques, and step-by-step tutorials on how to carve animals out of wood.
Ready for something memorable? Let’s get those shavings flying!
Key Takeaways
- Choosing the right type of wood is crucial for successful wood carving. Consider factors like consistent density and close grain, with butternut and basswood being great options for beginners.
- Essential tools for wood carving include a high-quality carving knife, whittling knives, power tools, gouges/chisels/V-tools, sloyd knives/palm chisels, and resources like “The Whittling Handbook.”
- Mastering basic wood carving techniques such as defining the shape and features of animals, carving away excess wood, and adding details can help bring your wooden animal sculptures to life.
- Step-by-step tutorials are available for specific animal carvings such as owls, mice, birds,fish,and bears.
Choosing the Right Wood and Tools for Wood Carving
To get started on your wood carving journey, it’s important to select the right type of wood and tools.
Finding the appropriate type of wood
Getting to grips with selecting the perfect wood for carving can be a game-changer. It’s not just about picking any log that catches your eye; you need to consider factors like consistent density and close grain, which make ideal carving woods.
For beginners dipping their toes in the world of woodworking, butternut serves as an excellent introduction – it’s lighter than walnut and has a pleasing grain pattern that adds beauty to every project.
Conversely, basswood is loved by carvers of all experience levels due to its soft nature and ease of manipulation. If you’re daring enough to try power tools or have intricate designs in mind, opt for hardwoods such as oak, maple, or cherry.
For larger creations without too much detail involved, pine and cedar are recommended choices because they’re fairly easy to carve into. Choose green wood also if possible- freshly cut or wet wood offers easier handling and less likelihood of splitting during the process.
Pick wisely—the type of wood you use for your project could greatly influence your final piece!
Essential tools for wood carving
Carving animals out of wood requires some essential tools. As a proficient carver, I always keep my toolbox stocked with the following:
- A high-quality wood carving knife: This is my most crucial tool. It has to be sturdy and capable of making precise cuts.
- Whittling knives: They are incredibly popular with beginners due to their versatility.
- Power wood carving tools: These tools have gained popularity lately, and there are excellent kits available in the market.
- Gouges, chisels, and veiner/V tools: These basic wood carving tools come in handy for creating stunning details on animal sculptures.
- Sloyd knives and palm chisels: Ideal for beginners, they offer rigorous control over the carving process.
- The Whittling Handbook: This resource guides on wood carving techniques and recommends basic tools needed for this skillful craft.
Basic Wood Carving Techniques
In this section, I will explore the fundamental techniques of wood carving animals.
Defining the shape and features of the animal
Getting the shape and form in wood carving right is vital, especially when creating animal figures. I start by visualizing the overall silhouette of my chosen animal. It helps to have a sketch or picture at hand for reference during this stage.

Once I’ve got a basic sense of its outline, I focus on distinguishing features – like an owl’s round head and prominent beak or a bear’s powerful shoulders.
In this process, recognizing that not all parts need equal attention is crucial. Some areas might require careful detailing while others might be left more abstract. For example, defining distinct facial features can give character to your wooden creatures while keeping their bodies smooth and stylized will maintain balance in your work.
Embracing these beginner wood carving techniques enables me to transform simple blocks of wood into lifelike animals over time. Applying it consistently improves my basic wood carving skills which ultimately results in better shape and form in my projects.
I also wrote a guide on how long does wood carving take.
Carving away excess wood
When it comes to wood carving, one essential technique is carving away excess wood. This step allows you to define the shape and form of your animal carving, bringing it closer to its final appearance.
By carefully removing the unwanted wood, you can begin to reveal the intricate details and features of your chosen animal. It’s important to take your time during this process and work in small increments, using tools such as chisels or gouges that are appropriate for the specific type of wood you’re working with.
Remember, precision is key here, as each stroke will determine the overall look of your finished piece. Take care not to remove too much material at once, as this can result in irreversible mistakes.
Use reference photos or sketches as a guide during this stage, ensuring that every cut contributes to creating a lifelike representation of your chosen animal. With practice and patience, mastering the art of carving away excess wood will bring your wooden animals from mere blocks of timber to stunning works of art.
Adding details and texture
When it comes to wood carving, adding details and texture is what brings your animal creations to life. It’s the small intricacies that make each piece unique and captivating. By using a combination of carving techniques and tools, you can achieve stunning results.
One technique for adding details is called chip carving. This involves making small, controlled cuts into the wood surface to create patterns or textures. Using a sharp chisel or gouge, you can carefully remove tiny chips of wood to add depth and dimension.
Another method is relief carving, which allows you to carve images that stand out from the background. By carefully sculpting away excess wood around your animal design, you can create a three-dimensional effect that really makes your creation pop.
Incorporating texturing tools like rasps or sandpaper can also enhance the overall appearance of your wooden animals. By gently roughing up certain areas or smoothing them down, you can add realistic textures such as fur or feathers.
Remember to pay attention to the natural features of each animal you’re carving. For example, if you’re creating a bird, focus on feather details by lightly carving lines in different directions to mimic their natural arrangement.
Step-by-Step Tutorials for Wood Carving Animals
In this section, you will find step-by-step tutorials for carving various animals out of wood, including an owl, a mouse, a bird, a fish, and a bear.
Carving an Owl
Carving an owl out of wood is a rewarding and enjoyable project that allows you to create a beautiful piece of art. Follow these step-by-step instructions to carve your own wooden owl:
- Begin by gathering all the necessary materials for the project, including a block of wood, owl carving patterns or templates, wax or lubricant for the tools, and wood carving tools such as gouges, knives, and chisels.
- Start by roughing out the basic shape of the owl from the wood block. Use a gouge or chisel to remove excess wood and define the general form of the bird.
- Next, focus on carving out the facial features of the owl. Use smaller carving tools like knives to carefully carve details such as eyes, beak, and ears. Pay close attention to creating realistic textures and proportions.
- Once you are satisfied with the facial features, move on to shaping the wings and body of the owl. Use your carving tools to create smooth curves and intricate feather details.
- Take your time when carving delicate areas like feet or talons to ensure precision and accuracy in your work.
- As you progress with your carving, refer back to your owl carving patterns or templates for guidance on specific features and proportions.
- Remember to regularly clean your tools during the process to prevent any buildup that could affect their performance.
- Continue refining your owl’s shape and adding depth through careful carving techniques until you achieve the desired level of detail.
- Once you have completed all necessary carvings, use sandpaper or finer – grit sanding materials to smooth any rough edges or surfaces on your wooden owl.
- Finally, apply a protective finish such as varnish or wax to protect your wood carving from environmental factors and enhance its appearance.
Carving a Mouse
Carving a mouse out of wood can be a fun and rewarding project for beginners in wood carving. Here is a step-by-step tutorial to guide you through the process:

- Begin by selecting a block of wood that is suitable for carving a small animal like a mouse. Basswood or butternut are ideal choices as they are soft and easy to work with.
- Draw the outline of the mouse onto the wood using a pencil. You can find free whittling patterns online or use your creativity to create your own design.
- Use a band saw to carefully cut out the rough shape of the mouse, following the outline you drew. Take your time and make sure to stay within the lines.
- Once you have the rough shape, start defining the features of the mouse by carving away excess wood using carving gouges or knives. Begin with shaping the head, body, and limbs, paying attention to proportions and curves.
- Carve out small details such as ears, eyes, nose, and tail using smaller gouges or knife blades. Take your time with these finer details to ensure accuracy and precision.
- After carving out all the features, add texture and fur by using carving tools such as veiners or V – tools to create lines or patterns on the surface of the mouse’s body.
- Smooth out any rough spots or imperfections by sanding down the surface with fine – grit sandpaper until it feels smooth to touch.
- Apply a finish of your choice, such as wood stain or varnish, to enhance and protect your wooden mouse carving.
Carving a Bird
Carving a bird out of wood can be a rewarding and enjoyable DIY project. With the right tools, materials, and techniques, you can create a beautiful wooden sculpture that captures the grace and elegance of these feathered creatures. Here’s how to carve a bird step by step:
- Start with the right pattern: Find or create a pattern for the type of bird you want to carve. This will serve as your guide throughout the carving process.
- Select the appropriate wood: Choose a wood that is suitable for carving and has the desired grain pattern. Basswood is often recommended for beginners due to its softness and ease of carving.
- Transfer the pattern: Trace or transfer the bird pattern onto the wood using a pencil or carbon paper. Ensure that it is centered and aligned correctly.
- Rough shaping: Use a carving knife or chisel to remove excess wood around the outline of the bird. Start by removing larger chunks and gradually refine the shape.
- Define main features: Carve deeper into specific areas like wings, tail feathers, beak, and eyes to give them more definition and depth. Pay attention to proportions and details.
- Add texture: Use various carving techniques like gouging, scraping, or stippling to create realistic texture on feathers or other parts of the bird’s body.
- Refine details: Continuously refine smaller details such as feather patterns, muscle definition, and overall smoothness of curves using finer tools like gouges or sandpaper.
- Sanding: Smooth out any rough edges or surfaces with sandpaper of different grits until you achieve a polished finish.
- Finishing touches: Apply beeswax or another suitable finish to protect your carved bird and enhance its appearance.
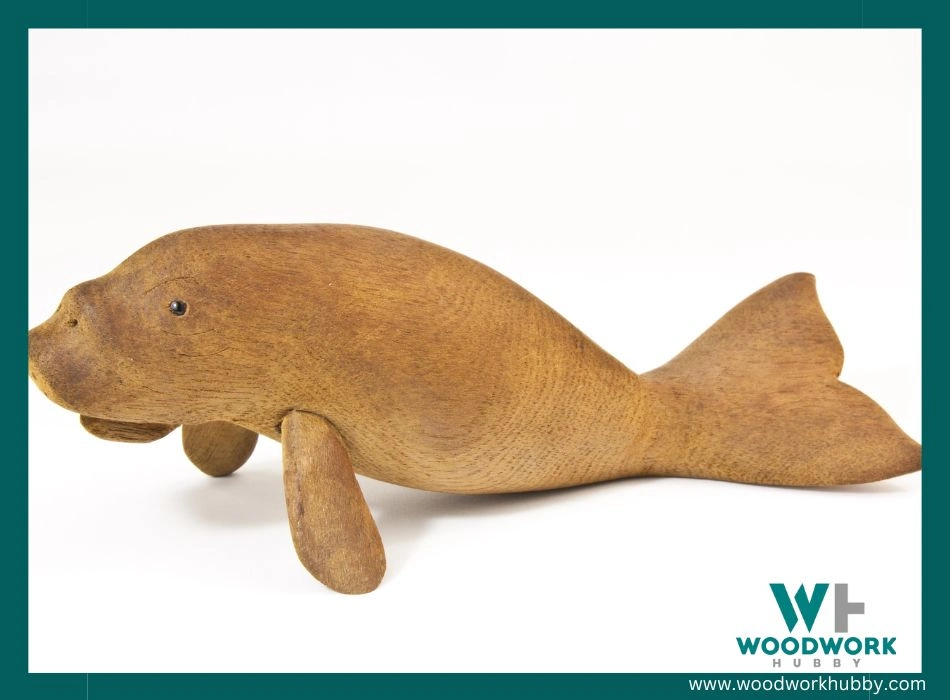
Carving a Fish
Carving a fish is an exciting wood carving project that allows you to create a stunning piece of art. With the right techniques and tools, you can bring a wooden fish to life. Here’s how you can carve a fish step by step:

- Choose the right piece of wood: Select basswood, as it is easy to carve and has a smooth texture.
- Create an outline: Draw the shape of your fish on the wood using a pencil or marker. Outline its body, fins, and tail.
- Carve away excess wood: Use a carving knife or chisel to remove the excess wood around the outline. Start by roughing out the basic shape of the fish.
- Define the features: Carve deeper lines where the eyes, gills, and mouth should be located. Pay attention to details like scales or markings on the body.
- Add texture: Use carving tools to create texture on different parts of the fish’s body, such as scales or fins. Vary the pressure applied to achieve different textures.
- Smooth out rough edges: Use sandpaper to smooth any rough edges and refine the shape of your fish.
- Paint or finish: Apply paint or stain to enhance your wooden fish sculpture. You can use realistic colors or get creative with vibrant shades for a more artistic effect.
- Preserve your creation: To protect your wooden fish carving from damage, apply a coat of varnish or sealant.
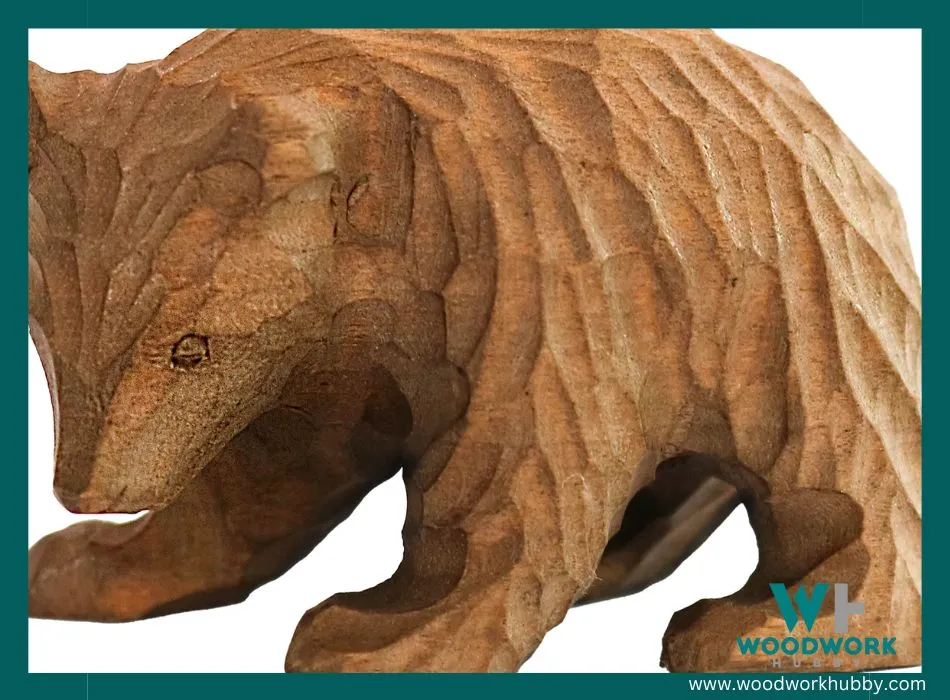
Carving a Bear
I love carving animals out of wood, and one of my favorite subjects to carve is a bear. Here’s a step-by-step tutorial on how to carve a bear out of wood:

- Start with a solid piece of wood that is suitable for carving animals. Look for a piece that is large enough to accommodate the size of the bear you want to carve.
- Sketch out the basic shape and features of the bear on the wood using a pencil or marker. This will serve as your guide throughout the carving process.
- Using a gouge or chisel, start by carving away excess wood around the outline of the bear. Take your time and be careful not to remove too much wood at once.
- Gradually deepen and define the features of the bear, such as its muzzle, ears, and paws. Use smaller gouges or knives for more intricate details.
- Pay attention to creating texture and adding depth to the carved surfaces. Use various carving techniques like slicing, stabbing, and scooping to achieve different textures that mimic fur.
- Once you’re satisfied with the overall shape and details of the bear, smooth out any rough edges or surfaces using sandpaper or sanding blocks.
- Apply a finish or sealant to protect your wood carving from moisture and enhance its appearance. You can choose from natural oils, varnishes, or waxes depending on your preference.
Finishing and Preserving Your Wood Carvings
When it comes to finishing and preserving your wood carvings, there are a few key steps you can take to ensure their longevity and beauty. First, after completing your carving, it’s important to sand any rough edges or surfaces to create a smooth finish.
This not only enhances the overall look of your piece but also helps prevent splintering.
Next, consider applying a wood preservative or sealant to protect your carving from moisture damage and insect infestation. Using a high-quality wood preservative will help extend the life of your carving and keep it looking its best for years to come.
If you’re planning on displaying your wood carving outdoors, make sure you choose a preservative that is specifically designed for outdoor use. These types of preservatives are formulated to withstand the elements and provide additional protection against sun damage.
Once your carving has been treated with a preservative, you can then choose how you want to finish it. Some popular options include staining, painting, or simply applying a clear coat varnish for added shine and protection.
When selecting a stain or paint color, consider the type of wood used in your carving as well as the desired aesthetic outcome. Experiment with different finishes on scrap pieces of wood before committing to one for your final piece.
Finally, don’t forget about regular maintenance! Dusting off or gently wiping down your wood carvings periodically will help keep them looking fresh and clean over time.
By following these basic steps for finishing and preserving your wood carvings, you’ll be able to showcase their natural beauty while ensuring they last for generations to come. So go ahead and get creative – let those animals come alive through the art of wood carving!
Conclusion – How To Carve Animals Out Of Wood?
In conclusion, carving animals out of wood can be a rewarding and enjoyable DIY project. With the right tools and techniques, beginners can create stunning wooden sculptures that capture the beauty of nature.
By following step-by-step tutorials and practicing basic wood carving techniques, anyone can learn to carve animals out of wood with ease. So grab your tools, choose the perfect piece of wood, and let your creativity soar as you bring these majestic creatures to life!
FAQs
1. What tools do I need to carve animals out of wood?
To carve animals out of wood, you will need a set of carving knives or chisels, a mallet for striking the tools, and sandpaper or files for smoothing and refining the carved surfaces.
2. Do I need any prior experience in woodworking to carve animals out of wood?
While some basic woodworking skills can be helpful, it is not necessary to have extensive experience in order to start carving animals out of wood. With practice and patience, anyone can learn this craft.
3. Are there specific types of wood that are best suited for carving animals?
Certain types of wood are more suitable for carving than others due to their grain structure and hardness. Some popular choices include basswood, butternut, mahogany, and cherry. It’s important to select a wood type that matches your skill level and desired outcome.
4. What safety precautions should I take when carving animals out of wood?
When working with sharp tools such as knives and chisels, it is crucial to wear protective gloves and goggles to prevent injuries from flying chips or accidental slips while handling the tools. Additionally, make sure your work area is well-lit and properly ventilated for a safe carving environment.


