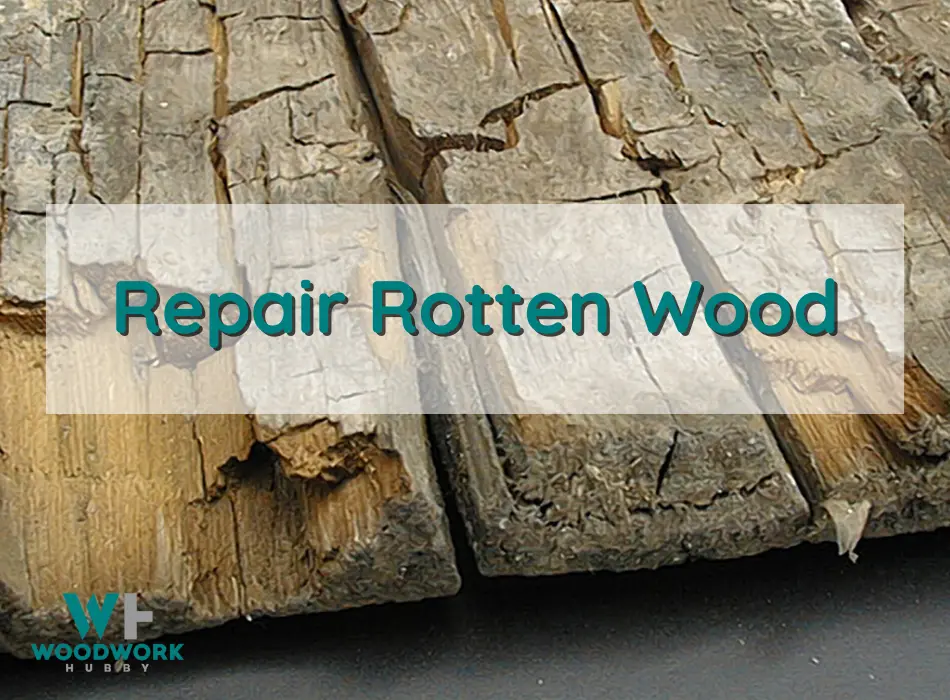
Wood rot is a common but frustrating problem that homeowners encounter. Not only does it compromise the structural integrity of your home, but it also dampens its overall aesthetic appeal.
Fortunately, repairing rotted wood is an achievable DIY project for even the most novice handyman or woman out there. In this blog post, we’ll guide you through identifying rotted wood and provide a step-by-step tutorial on how to restore it using simple tools and materials.
Key Takeaways
- Regularly inspect wooden structures for signs of rot to catch them in their early stages and prevent extensive damage.
- Properly dry out the affected area before repairing rotted wood, as moisture can compromise subsequent repair steps.
- Using a wood consolidant like Abatron WoodEpox before applying polyester filler or Bondo wood filler helps strengthen weakened wood fibers and results in longer-lasting repairs.
- To prevent future wood rot, ensure proper sealing, drainage, ventilation, and maintenance of your wooden structures through regular cleaning and debris removal to avoid trapping moisture.
Identifying Rotted Wood
Recognizing rotted wood in its early stages is crucial for avoiding extensive damage to your home’s structures and minimizing repair costs.
To identify rotted wood effectively on surfaces such as trim work or casing around doors and windows, inspect the area carefully for visible signs of decay like discolored patches or cracks.
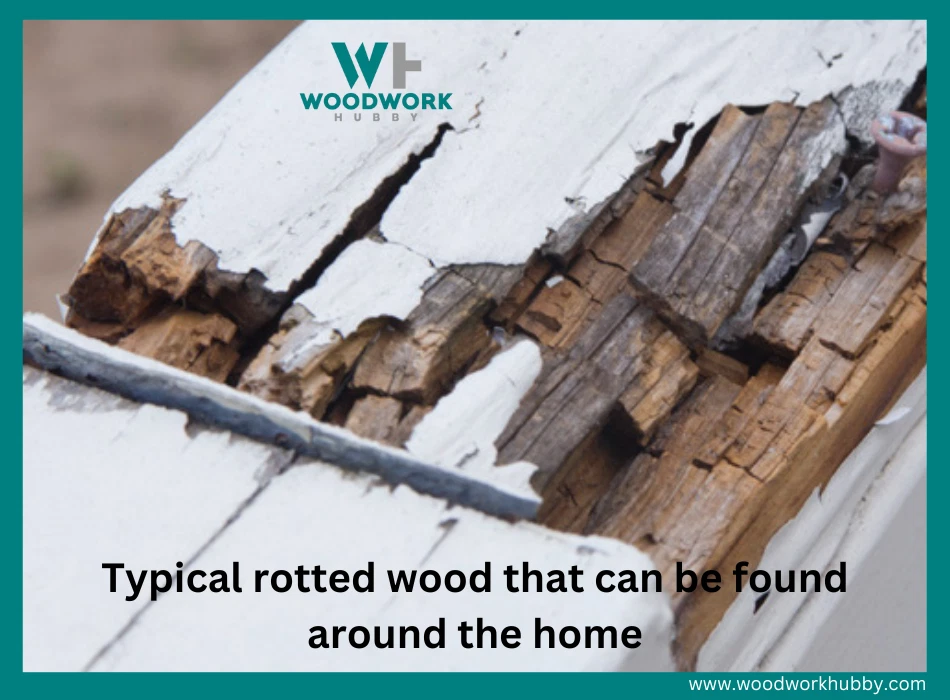
Touch the suspected spot gently with a screwdriver; if it goes through easily or feels soft and spongy rather than firm and solid like healthy wood would feel due to its weakened state caused by rotting.
Another common sign is the appearance of fungal growths resembling mushrooms sprouting out from the affected timber surface.
Take advantage of annual deck inspections recommended by organizations like North American Deck and Railing Association (NADRA) or have an ASHI-certified home inspector check susceptible areas.
Video showing everything about rotted wood
Tools And Materials Required For Repair
To successfully repair rotted wood, you will need the following tools and materials on hand:
- Paintbrush: Used for applying consolidant and primer.
- Putty knife: Helps with shaping and smoothing the filler onto the rotted wood area.
- Rasp: Handy tool for removing and shaping excess filler material.
- Sanding block: Useful for sanding down repaired areas smoothly.
- Utility knife: Essential for cutting away rotted wood sections or trimming filler material.
- Wood chisel: Assists in removing rotted wood and refining the filled area’s shape.
- 100-grit sandpaper: Works well for sanding repaired surfaces to achieve a smooth finish.
- Polyester filler (e.g., Minwax High-Performance Wood Filler or Bondo Wood Filler): Ideal for filling voids left after removing rotted wood sections, as it is moldable to match the profile of the original wood piece.
- Wood hardener (consolidant): Necessary for strengthening weakened wood fibers before applying polyester filler.
Steps To Repair Rotted Wood
To repair rotted wood, start by drying the affected area and removing all of the damaged portions before applying a wood consolidant; then mix and apply a molded polyester filler or Bondo wood filler to fill in the recess, sanding down any rough edges or excess material between applications until it is level with the surrounding area, before finally painting or staining the repaired spot.
Dry The Wood
Before diving into repairing the rotted wood, it is crucial to ensure that the area is completely dry. This may involve using a heat gun or even waiting for a few sunny days to allow any moisture within the wood to evaporate naturally.
Video showing how to fix rotted wood
For example, I remember helping my neighbor repair their rotted windowsill after they noticed some water seepage during heavy rain. We took turns using a heat gun on low settings and carefully waved it back and forth over the damp areas until they were visibly dried out.
It’s essential not to rush this step since lingering moisture could undermine your hard work later on in the repair process.
Remove Rotted Portions
Removing the rotted portions of wood is a crucial step when repairing rotted wood. The process involves cutting out any damaged parts with a sharp tool, such as a chisel or utility knife.
It’s important to be thorough when removing the rot as any remaining decay can spread and compromise the structural stability of the entire piece of wood.
Once all damaged areas are cut away, you can proceed with applying consolidant and filler to restore your wooden surface back to its original shape and strength.
Apply Wood Consolidant
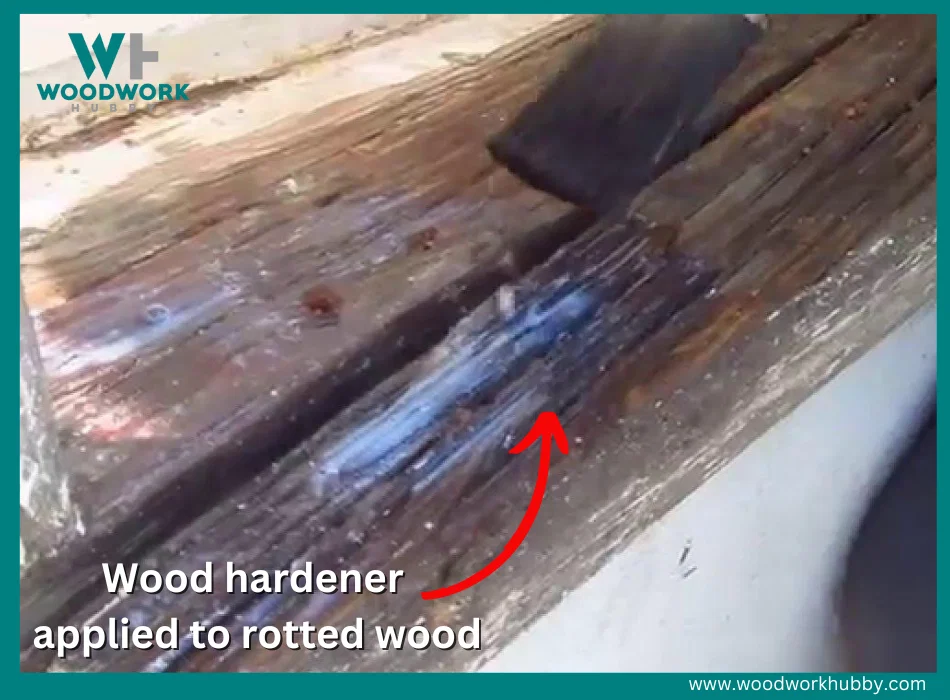
One crucial step in repairing rotted wood is applying a wood consolidant. This product strengthens the remaining wood fibers and prepares them for the application of filler.
See my full article showing the Best Wood Hardeners to use.
I prefer using Abatron WoodEpox as a consolidant as it penetrates deep into the wood fibers, making them stronger than ever before. The mixing process is easy – just combine equal parts of the liquid and hardener to activate it.
Make sure to stir thoroughly and use it quickly because it dries fast. Apply generously to all areas with missing or damaged wood until saturated with consolidant.
Use Wood Filler
I find using wood filler to be the most efficient and cost-effective solution for repairing rotted wood. After applying the consolidant, which hardens and stabilizes the remaining wood fibers, I mix a small amount of two-part polyester filler into a paste-like consistency that can be easily applied with a putty knife or chisel to fill any missing areas.
The partially hardened filler can then be shaped and smoothed down with sandpaper until it matches the surrounding wood profile.
One thing to keep in mind is that vertical repairs with polyester filler tend to sag over time, so it’s important to use some kind of support structure – like masking tape or an angled board – while filling those areas.
Sand And Paint Or Stain The Repaired Area
Once the filler has dried and hardened, it’s time to sand and paint or stain the repaired area. Start with 100-grit sandpaper to smooth out any rough edges or bumps on the surface.
Use a sanding block for flat surfaces and a rasp for curved ones.
After you’ve sanded down the repaired area, it’s time to prime and paint or stain it. Be sure to use exterior-grade products if the repair is outside where it will be exposed to moisture.
Completing this final step will not only make your repairs look seamless but also protect them from future damage caused by water infiltration and UV rays from sunlight exposure!
Tips For Preventing Wood Rot
Preventing wood rot is crucial to ensure the longevity of your wooden structures and furniture.
Here are five tips that can help you prevent wood rot:
- Regular Inspection: Inspect your wooden structures regularly, especially those exposed to moisture. Look for signs of rot and address them immediately before they turn into bigger problems.
- Proper Sealing and Coating: Seal your exterior wooden structures like decks, siding, windowsills, and door frames with appropriate stains or paints to prevent moisture penetration.
- Good Drainage: Ensure proper drainage by keeping gutters clean and directing water away from wooden structures using downspouts or grading the soil away from the foundation.
- Ventilation: Promote good air circulation in areas where wood is used by installing vents in crawl spaces or attics to keep moisture at bay.
- Proper Maintenance: Regularly clean your wooden structures, remove debris that can trap moisture, power wash if necessary, and apply sealant or coating as needed to prevent deterioration.
Incorporating these simple steps into your regular home maintenance routine can save you money and time spent on repairs due to wood rot caused by neglect.
Conclusion – How To Repair Rotted Wood?
Repairing rotted wood can be a simple DIY project if you have the right tools and materials. By identifying the rotten area, drying it out, removing the rot, applying consolidant and wood filler, sanding and painting, or staining the repaired area, you can save money by avoiding costly replacements.
It’s important to take preventative measures to avoid wood rot in the future such as sealing vulnerable areas with composite decking or Trex RainEscape systems.
Remember to always inspect your deck or wooden structures for any damage regularly to ensure their longevity and safety.
FAQs:
1. What causes wood to rot, and how can I prevent it from happening again in the future?
Wood rots due to exposure to moisture over extended periods of time. To prevent future incidents, make sure that all areas of potential water infiltration are properly sealed or coated with waterproof materials.
2. Can rotted wood be repaired, or does it need to be replaced entirely?
Rotted wood can often be repaired by removing the affected area and using specialized material such as epoxy filler or a hardener before sanding and repainting the surface.
3. How do I know when it’s time to repair or replace my rotted wood?
If there are only minor areas of damage that do not inhibit structural integrity, repairs may suffice; however, if larger sections are weakened significantly or show signs of mold growth then replacement may be more practical.
4. How should I go about repairing damaged wooden exteriors like siding or window frames?
Repairing wooden exteriors can involve several different approaches depending on severity & type but usually involves removing any loose portions of the damaged area first before addressing underlying problems (such as moisture intrusion).
After cleaning the exposed surface and ensuring proper repairs have been made – applying sealant and paint afterward will help protect against further water damage down the line.

