Plywood can be cheap, which can tempt one to find different uses for it. Whether you have excess plywood lying around or are tempted by the prices of a certain grade of plywood, any intentions you have of using the material for cooking utensils or serving trays must be informed by how food-safe it is.
The wooden layers of plywood are food-safe, however, the adhesive is not. Plywood is food-safe if sealed with a non-toxic, scratch-resistant finish. Otherwise, hot food items are at risk of getting contaminated by plywood adhesive, which can melt with repeated exposure to heat.
In this article, you’ll learn more about using each of these finishes to get your plywood to be food-ready. Along with this, you will discover different considerations for different types of projects like serving trays, plates, and cutting boards. By the end, we will look further into a food-safe epoxy to better inform your choices.
Can You Use Plywood To Make A Cutting Board?
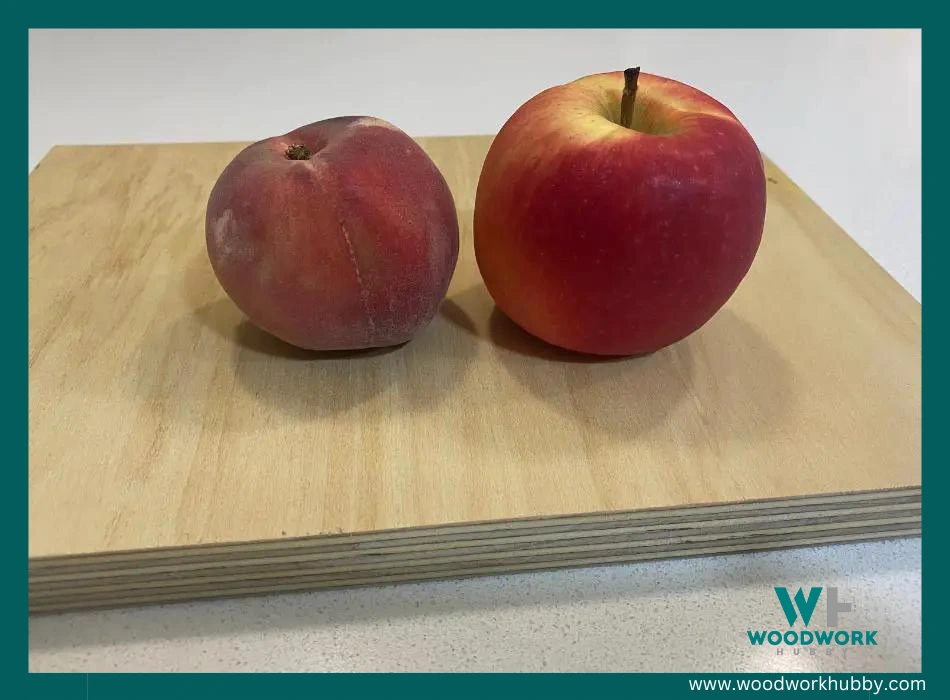
If you’ve leftover plywood sheets from a project, you might wonder what else you can use them for. The sheets might not be sizable enough for a cabinet, and you can’t burn them obviously because they’re harmful when burned. One handy project you can use leftover plywood for is a cutting board.
Plywood can be used to make a cutting board, given that it is sealed with a food-safe and scratch-resistant coat. Clear, food-safe, epoxy makes for the ideal material to coat your plywood cutting board. Once cured, the epoxy doesn’t melt or get scratched by the knife you use for chopping.
Here are the best practices of using plywood to make a cutting board:
Use thick plywood
Even if you have thinner layers of plywood, stacking them can get you the thickness you need for your cutting board. As long as the board’s structure isn’t too weak to handle the chopping action, you’ve opted for the right material.
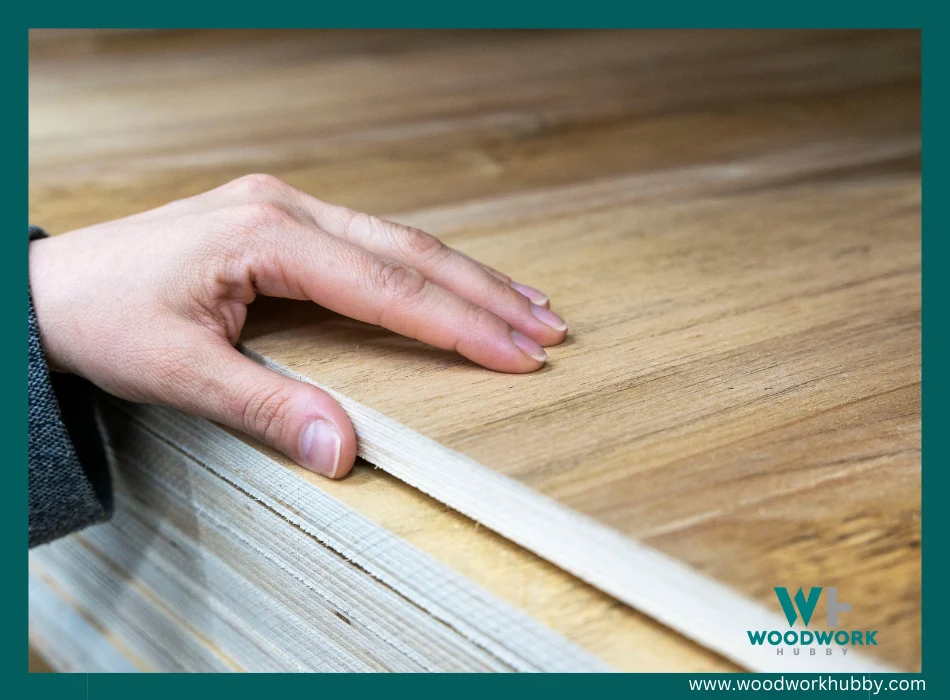
I recommend birch 3/4 inch (19mm) plywood as a minimum. See my article on plywood weights.
Minimize knife action
This might sound counterintuitive, but different chopping boards can take different tiers of punishment. A marble or stone cutting board can undergo a lot of chopping and stay solid. A chopping board, be it wood or plywood, cannot take that much direct knife action. It is, therefore, advisable to maintain a lighter knife-to-base velocity to keep the knife from interacting with the plywood.
Epoxy-coat your plywood board
Using food-safe countertop resin to cover your plywood board will make it sturdier and minimize food contamination. However, the gloss of such epoxy can take away from the woodsy charm of a plywood cutting board.
Can You Put Food On Plywood?
Cutting boards aren’t the only possible avenues for food-plywood interaction, though they’re the ones that require the most care. Other places where plywood can come in contact with food are tables, plate bases, and cooking spoons. The question is, can such items be safe if they’re made with plywood?
Even though the wooden layers of plywood are considered food-safe, you should not put food on plywood unless the plywood item is sealed with a food-safe finish, which prevents the plywood adhesive from interacting with the food.
That said, the above answer is based on the fact that a majority of the food we consume at mealtimes is served hot. If you have a plywood table and a morsel of cold food hits the table-top, eating it is not any more or less dangerous than eating it off of a marble or hardwood table. That said, the above answer is based on the fact that a majority of the food we consume at mealtimes is served hot. If you have a plywood table and a morsel of cold food hits the table-top, eating it is not any more or less dangerous than eating it off of a marble or hardwood table.
In such cases, the actual danger isn’t in the material but in the microbes that might be on the surface. Regardless, even if your plywood items aren’t plates or spoons that frequently interact with food, you should seal them with a food-safe finish.
How Do You Seal Plywood For Food?
To seal plywood for food, you must opt for a finish that locks the surface to keep plywood adhesive from reaching any food item that is placed atop a serving tray or a cutting board. You’ll sand the plywood, if required by the sealant, before applying the finish and letting it dry.
Different finishes have different curing times, so make sure you’re aware of the time you have to wait before using the item. It is also worth noting that “dry to touch” doesn’t always mean “dry to use.” Given that food can often be hot when served on plywood, a sealant that is dry to the touch can still be volatile enough to melt and mix with food.
Most epoxy cures to be touch-ready within a few hours but require 24 hours of breathing time before it is functional.
You should also keep in mind that different sealing solutions last for different periods. Most oil finishes wear out in a few weeks, which means treating your plywood board with a food-safe oil every month is a safe practice.
Here are the steps you’ll take to seal plywood for food.
Pick a food-grade wood sealer
In this step, you should pick a wood sealer that is easy to use, budget-friendly (as you will use it often), and above all, food-safe. Also, keep in mind plywood-friendliness when opting for a wood sealer. Food-safe finishes correspond to plywood equivalents in hardwood. Understand the roughness of your plywood item and find a finish that matches a similar tier of wood. This reduces surface-prep work.
Prepare the surface
Regardless of the sealant, you opt for; you have to clean the surface before applying a finish. The last thing you want is to have dust and foreign particles getting glued onto the plywood surface with a sticky finish.
Cleaning the surface with a food-safe disinfectant, then using a rag to dry the excess, makes up for the universal start for any kind of plywood surface prep for any sealant. If you opt for epoxy (covered in the next section), then the surface prep involves sanding, whereas, for oil-based seals for the rest of the plywood items, you only need to imbibe the plywood with mineral oil.
Go beyond the surface
For oil finishes, you must soak the plywood item in mineral oil to make sure it reaches any pores that may be on the surface. You’re aiming for depth with this step. Depending on how thick the item is, the larger and deeper the container with mineral oil can be.
Mineral oil will form a thin film that keeps plywood adhesive from interacting directly with food. However, the layer is too thin to last more than a few days of frequent use. That’s why the best option is to go beyond the surface with the first layer, then apply a sturdier second layer.
Be sure to use strong waterproof wood glue like Titebond 2 or 3.
Apply the second layer
For this step, you’ll mix one part molten beeswax with four parts mineral oil. This mixture will be slightly viscous but will have enough runniness to go deep into any openings. The mineral oil will act as a diluent more than a sealant this time. Depending upon the porousness of your plywood item, this step can be optional or essential.
For instance, if the plywood surface is rough to touch, then the pores are likely deep and abundant, which would warrant applying two layers after initially soaking the item in mineral oil. Breaking the repetition of this step into a different step doesn’t make sense.
But with each new layer, you will add one part more of beeswax and subtract a part of mineral oil. In the next turn, if required, you would use two parts beeswax with three parts mineral oil and after that three parts beeswax with two parts mineral oil. Again, this depends on the surface smoothness; the smoother the plywood, the less important this step is.
Seal the surface
Finally, you’ll apply a layer of beeswax to tightly seal the surface. By this step, the interior of your plywood should be decently locked with mineral oil and diluted beeswax. Sealing the surface is simple: you melt beeswax at a temperature the plywood is unlikely to experience during regular use and apply it with a rag.
If the wax is molten at a temperature that the plywood will reach during day-to-day function, then the seal is at risk of melting away when you put food on it. Because it is food-safe, you don’t risk getting poisoned. However, you do incur the drawback of the seal wearing off.
How Do You Seal A Plywood Cutting Board?
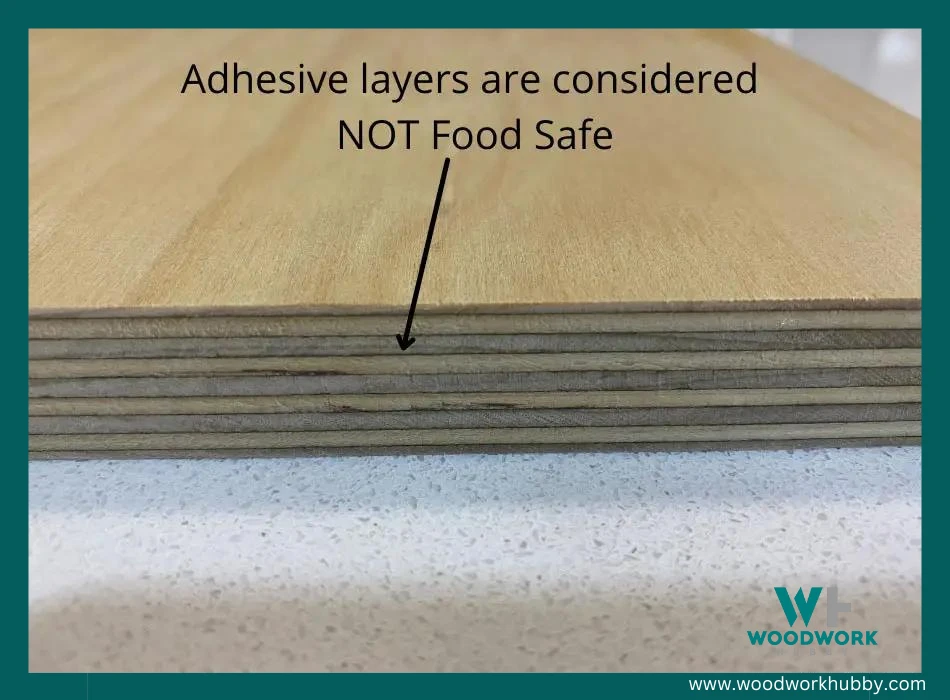
Plywood cutting boards require a different type of sealing than other plywood items that interact with food. Aside from being food-safe, the finish you use with a cutting board must also be scratch-proof.
And given that we don’t have time to seal cutting boards every day, the finish must have relative longevity. For this, the best coat is food-safe, scratch-resistant, epoxy. Here’s how you can use it to seal a plywood cutting board.
Step 1 – Choose a food-safe, clear epoxy.
Most epoxies are scratch-resistant and durable. However, not all epoxies are food-safe, which is why the first thing to aim for is getting an epoxy kit that is FDA-approved for food safety. This is one step that, if done right, will offset any mistake made in the subsequent steps.
On the other hand, if you choose the wrong epoxy, it doesn’t matter how well-applied it is; your cutting board will not be food-safe. So please check out the end of this post for our best food-safe epoxy recommendations.
Step 2 – Prepare the epoxy.
Here, you will have to mix epoxy with hardener to get a viscous mix that you’ll cure after spreading over the plywood surface. There is no hard and fast rule regarding how much hardener you should use, though it is advisable to follow the guidelines that come with the epoxy package. You can add a larger amount of hardener to get the epoxy to cure faster, though less of it will make the mixture easy to use.
Step 3 – Prepare the surface.
For this step, you will clean the epoxy surface with a wet rag and then an absorbent, dry sponge to soak up the water. If the finish were oil-based, this would be all the surface-prep required. However, for epoxy, you need to make the plywood surface rougher. Epoxy layers poured over a smooth plywood board would be unstable and unable to resist the pressure of knife action.
The best way to prepare the surface is to use decent grit sandpaper on a block and hand-sand the surface lightly. You don’t want to obliterate the plywood with machine-sanding. Remember, this isn’t solid wood and rough sanding can weaken its core.
You may even choose to wet sand prior to finishing. See my article on why you may wet sand.
Step 4 – Pour an even layer.
Here, you will have to be careful not to pour uneven wads of epoxy resin. If the epoxy you choose is a self-leveling kind (which most premium options are), then you can afford to be a little careless. You just need to have the cutting board firmly clasped in place and pour a layer of the epoxy mix over it.
Once a film of resin covers the board, you should let it sit in a dust-free environment until it is dry to touch, then transfer it to a place where it can safely dry further.
Best Food Safe Epoxy – Stone Coat Epoxy Kit
Stone Coat is the leading name in quality countertop resins, which means cutting boards finished with a Stone Coat kit are unlikely to get scratched easily. It’s a food-safe resin, which makes it ideal for covering plywood and preventing wood glue from interacting with anything you chop on the cutting board.
Final Thoughts – Plywood Food Safe?
Plywood itself isn’t food-safe, especially when it interacts with hot food. However, any room-temperature or cold morsel falling on plywood won’t make the food instantly toxic. Still, we prefer to err on the side of caution and consider plywood unsafe for food unless properly sealed with the right finish.
For surfaces that aren’t prone to scratching, you can use mineral oil, and for those with light knife action, beeswax is enough. But for boards that will see a lot of knife action, it is advisable to pick a food-safe countertop epoxy to make the surface scratch-resistant and safe simultaneously.
