Sanding is an important factor in woodwork to ensure you get a good finish. Lately, I have heard people suggesting to sand after applying stain which is contrary to what I do so I decided to investigate further. Below is what I found out, should you sand wood after staining?
Wood should be sanded BEFORE staining because sanding after staining removes some of the stain while evening out the wood texture. If the wood is already stained and has an uneven texture or pigment, you can sand it, but this needs to be followed by restaining.
In this article, you will learn everything you need to know about making wood smooth before, during, and after the staining phase. You will also learn the sandpaper grit ideal for this kind of project and the pros and cons of sanding wood after staining. Let’s get started!
How Do You Smooth Wood After Staining?
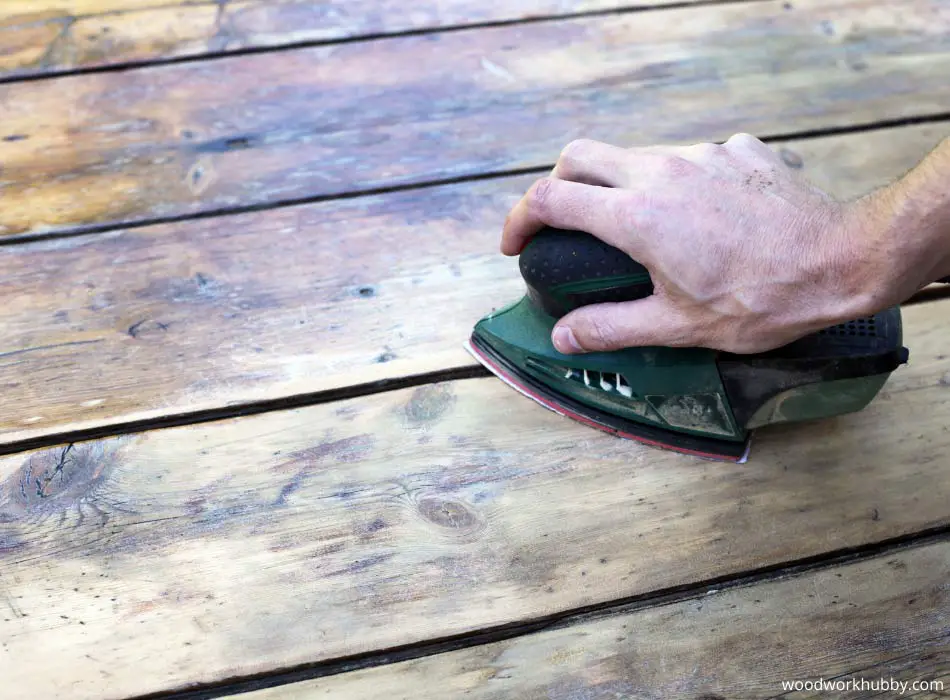
You can smooth wood after staining by wiping down the unevenness if it is in the stain layer. This can be done with a rag. If the wood texture and grain are raised, you should sand and restain it to have a smoother texture and an even pigment distribution.
Can you glue wood after staining? I explain if it’s possible here.
One must understand the depth of wood’s unevenness to be clear about which solution applies. If the wood texture is the problem, which it is in over 90% of the cases, then the unevenness can be felt throughout the surface.
In contrast, if the wood is even in most areas except a few spots, the stain might have been applied poorly in those spots, and vigorous rubbing might be all that’s needed to even out the texture. Care should be taken right after the stain is applied so it is easier to even the stain while it’s still curing.
Be sure to check out my full guide on how long does it take stain to dry to ensure you don’t sand it too soon.
You can also check whether the wood was previously sanded. If you have already sanded the surface, but the post-stain finish seems to be too textured, you can use a polyurethane finish to make the wood smooth. And if you know that you did not sand the surface before staining it, then it is clear that the wood has to be sanded. This can remove a significant amount of the stain, depending on how long you wait before sanding.
The tips in this video will further improve your post-stain finish:
Video showing how to apply stain
How Long Should I Wait to Sand After Staining?
You should wait no more than 10 minutes to lightly sand the wood after staining it. This is crucial in multi-stage staining as it ensures each thin layer of stain gets to evenly coat a thoroughly smoothed surface. At a minimum, you must wait 5 minutes or until the wood is dry to touch.
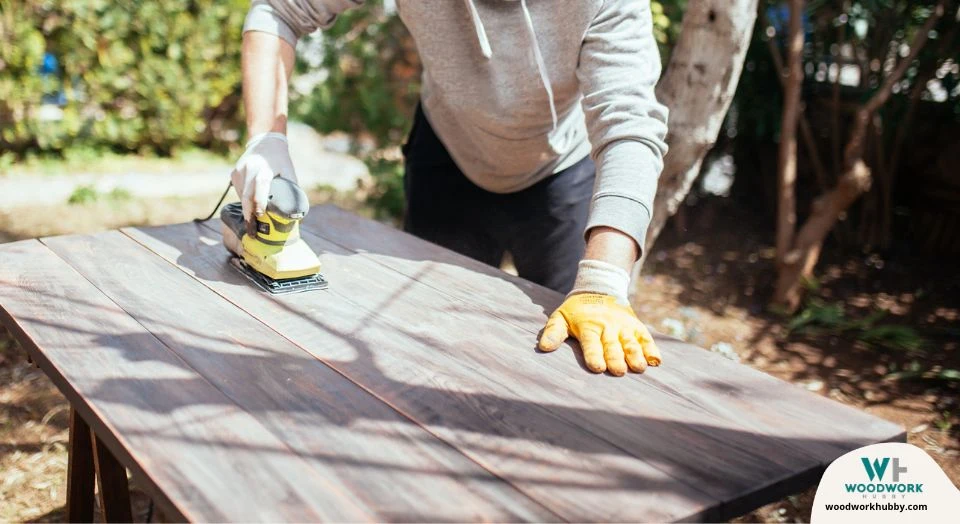
When the wood has the exact color you want it to have, the staining process is complete. If you still feel like the wood is uneven or has a bumpy texture, you can coat it in Polyurethane to give it a glossy, smooth finish. Or you can check this guide on how to stain wood to be lighter.
For those who aren’t fans of high gloss, satin finish poly like Minwax Wipe-On Poly can work as well.
I highly recommend Minwax Wipe-On Poly finish as the perfect all-round finish.
Minwax Wipe-On Poly
It is fast-drying and can be applied without much room for error. What you see is what you get with this finish, so you can apply it until you’re satisfied with the final look of the furniture or wood. You can also use poly to make wood water-resistant if not waterproof. It also safeguards the surface from chemical spills and seeping stains.
I keep a Minwax container in my workshop because it isn’t exclusive to smoothening pre-sanded wood. Whenever I want to give wood items a hand-rubber appearance, I use the satin poly and press down hard as I wipe it across the surface.
For this specific situation, I would apply the least pressure and would glide a smooth rag over the surface to apply a very consistent layer over the wood. You can use any oil-based poly finish for this purpose, but Minwax is one of the top ones.
It has over 3,800 reviews and ratings that collectively average at 4.7 out of 5 stars. Its ease of use is its highest rating, followed by its value for money proposition.
Can You Sand Freshly Stained Wood?
You can sand freshly stained wood if you want to remove the stain or plan to restain the surface although you will find that the sandpaper clogs quickly. You should give the surface at least 5-10 minutes before you can begin making it even with sandpaper.

The main advantage of sanding wood while it is freshly stained is that it allows you to slowly smoothen the surface as you make progress with layered staining.
Its main drawback is that it wastes a lot of stain and sandpaper. If you already have a container with too much stain and know you won’t need it for anything else, by all means, use as much layering and sanding.
But if you don’t want to run out of stain halfway through the project, then it is best to sand wood until you’re satisfied with the texture, then stain it. Here is how to remove too much stain.
One way to know for sure that the wood is sanded enough is that you can’t notice the texture by touching the surface until you intentionally focus on detecting texture. Sanding before staining is standard practice, not just because it saves money with efficient use of stain.
I highly recommend sanding the surface WELL, prior to applying the stain. You will get a much better finish and it’s easier to achieve!
It is also the norm because it brings the best out of wood stain. Unlike surface polish and paint, stain seeps into the wood to produce richer color. By sanding earlier, you may be sure there are enough gaps for the stain to seep into.
There does not seem to be any drawback of sanding before staining unless you count poor sanding. When the sandpaper is not the right grit, the wood surface and get grated or incur scratch marks. If the grit doesn’t impact the surface enough, it can get barely affected, and the result is the same as not having sanded at all.
Given that sanding is crucial in most finishing and staining processes, using the wrong grit sandpaper can force you to sand again after coating the wood.
Should Stained Wood Be Sanded Before Sealing?
Stained wood does not require sanding if it is being coated with a Polyurethane sealant or similar. If the wood is too bumpy for the end user’s preferences, then it should be sanded, restained, then sealed.
According to a multi-country study of consumer preferences regarding wood and wood products, there seems to be a noticeable preference for smooth surfaces.
This is a reliable cross-cultural study spanning broad samples. So if your project isn’t a hobby manifestation and you genuinely plan to sell the product, you’ll have slightly better chances sanding, staining, and finishing wood in that order.
If the wood is already stained and grainy, you can decide whether it is worth it to sand and restain before finishing for the sake of slightly higher odds of selling. Texture isn’t inherently bad. In some cases, it is preferred.
The beauty of a poly coat is that it works regardless of whether the surface is smooth or rough. If your goal is to make the surface more water-resistant and better protect it, then sanding isn’t required with a poly coat.
Sanding Between Coats of Oil-Based Stain: Is It Necessary?
Sanding between coats of oil-based stain is not required because you can use a regular rag to wipe away the unevenness. Since the oil coat doesn’t dry in five minutes, the rag is sufficient to smoothen out the coat. Many people make the mistake of using sandpaper on an oil coat.
This isn’t as big of a problem if the coat is genuinely dry. But in most cases, it simply ruins the sandpaper. You can avoid this by keeping sandpaper out of the oil-based stain application. Nabob Wipers Knit Rags are ideal for removing excess oil-based stains from a wood surface.
They’re made from cotton and are surface-friendly. That said, you don’t need to buy new rags if you already have cotton cloth to use at home.
Nabob Wipers Knit Rags
You can also use a fine face towel, but whatever you use cannot be used again because the oil-based stain seeps into the cloth. That is why a pack of rags is ideal for a habitual woodworker. After all, you don’t want to get rid of your everyday-use cotton sheets and shirts at home just to smoothen oil stain.
How to Sand Between Stain Coats?
To sand between stain coats, you need to apply thin layers of a medium-drying stain and wait for it to be dry to touch before sanding it with a 120 to 220 grit sandpaper depending on whatever works.
According to Stain manufacturing titan General Finishes, 220 grit sandpaper is perfect for sanding between stain layers. In my experience, different grit papers have worked for me on different projects. From 120 grit to 220, sandpaper of different coarseness works for different projects.
This is because the same stain can dry to different degrees on different surfaces. More importantly, it has a different hold on different surfaces, making it harder to even out in bumpier wood and easier to wipe on smoother planks. LANHU’s assorted sandpaper pack is an interesting purchase as it features sandpapers from 120 to 3000 grit. It is generally rated at 4.6 out of 5 stars.
LANHU’s assorted sandpaper pack
The table shows the different types of stains and whether you can sand between coats:
| Type Of Stain | Can Be Sanded Between Coats? | Comments |
|---|---|---|
| Oil-based Stain | No | You cannot sand between coats of oil-based stain. The coats require wiping with a rag. |
| Water-based stain | Yes | You can sand between coats of water-based stain as long as the stain layers are thin. |
| Gel | No | You cannot sand between layers of gel as it takes 8 hours to dry. |
| Lacquer Stain | No | You cannot sand between layers of lacquer stain. |
| Metal Dye | Yes | You can sand between layers of metal dye if it fits your wood-staining goals. |
| Water-Soluble Dye | No | You cannot sand between layers of water-soluble dye. |
Here’s a video demonstrating between-layers sanding:
Video showing sanding between stain coats
Do You Have to Sand Before Staining?
On average, you need to sand before staining, so the stain gets a textured foundation to seep into. If you don’t sand the wood surface, the stain’s color might not be desirable. However, to simply get the color to appear on the surface, stain can be applied to unsanded wood as well.
Over 90% of the resources on staining, painting, and coating allude to priming or sanding. When the coat of a material is 100% waterproof, it can be lightly sanded without undercutting the protectiveness of the upper layer.
In such cases, sand can be considered essential to finishing. But if staining erodes a protective layer or removes the color contributed by a stain coat, it can never be the final step.
As a rule of thumb, you can remember that you should not sand after staining if sanding removes the stain coat. And you should not sand after finishing if sanding removes the protective layer.
In my experience, one can sand after an oil-based stain before applying a clear finish. But you cannot sand between the layers of an oil-based stain. In contrast, a water-based stain anchors well with multi-layer application and sanding between layers.
But its final layers must go unsanded. Both the stains can benefit from sanding before their application, which makes sanding the ideal prep-work for staining.
No action in woodworking is without its limitations or drawbacks. In my experience, sanding can have an adverse effect on finish-specific wood. If a plank, board, or raw lumber has value because of how it feels, you might not want to risk using the wrong grit sandpaper and making the wood feel roughed up.
What Grit Sandpaper for Stained Wood?
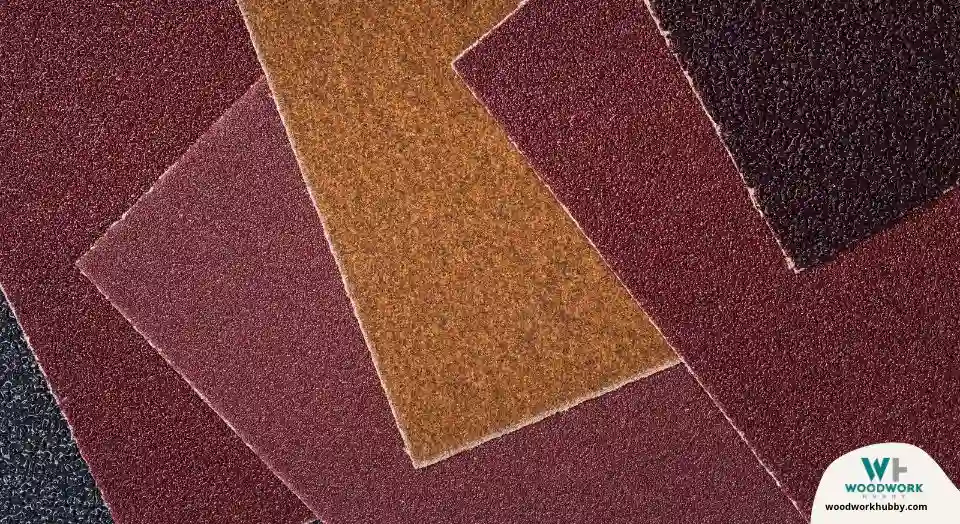
You should use 220 grit sandpaper for stained wood. If the sanding action doesn’t smoothen the unevenness, you can move to a higher grit paper or increase the pressure you apply to the surface. 120 grit is fine for thin layers of water-based stain.
Do I Need to Sand-Stained Wood Before Applying Polyurethane?
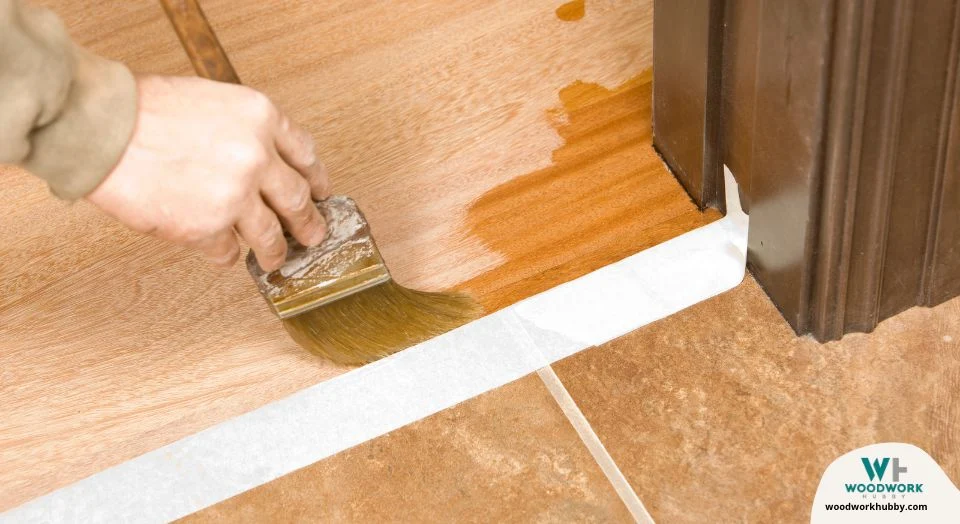
You do not need to sand-stained wood before applying Polyurethane because it anchors well with minimal preparation. If the stained wood has the texture you are satisfied with, you should apply a poly finish without sanding.
Final Thoughts- Should You Sand Wood After Staining?
Sanding is best done before staining and in the middle of applying multiple layers of quick-drying stain. It has diminishing returns when done at the end as it can remove the final coat.


