Every good woodworking project requires some form of sanding to smooth the surface before applying a finish. During my time doing my certificate in finishing, many new woodworkers would ask me if they should wet wood before sanding?
Wood does not require wetting before sanding to achieve a suitable surface to accept finishes. Water may be used as an aid to raise the grain in some instances where a super smooth finish is desired. Wet Sanding with special sandpaper also eliminates dust and does require different procedures.
In almost everyday projects we can use many different grits of sandpaper to achieve a smooth surface without the need for water. There are however some instances where wetting the surface may be beneficial but you must be careful how this is done.
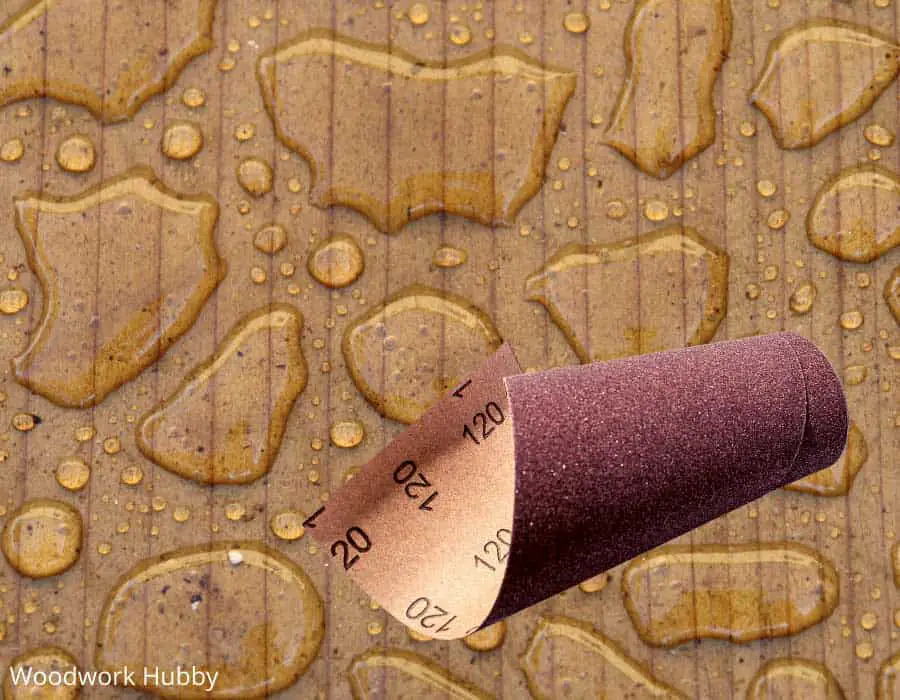
In the article below I will go into detail about why wetting the wood can help and how it is best done without ruining your project.
Keep in mind this is very different from Can you sand wet wood so be sure to check out my article explaining the difference.
Let’s First Discuss The Meaning Of Wet Wood?
When I refer to wetting wood before sanding, this will mean applying small amounts of water from your fingertips or wetting the sandpaper first. You should never soak your timber in water or attempt to pour water over your project.
Excess water applied to the timber will cause it to soak it up and expand which can ruin your joints and break down the glue lines.
With that being said, you should also not attempt to sand wood that has been soaked in water. The excess water gets stored by the wood fibers and will simply clog up your sandpaper.
What Does Wetting The Wood Achieve?
The idea of wetting wood before sanding is to raise the grain of the wood which allows the sandpaper to smooth off those fibers. This leaves the surface shiny and smooth and ensures the first coat of your finish does not swell up the wood fibers.
This whole procedure ensures a smoother wood surface. I commonly use this method on end grain cutting boards as the end grain is harder to get smooth.
Wet sanding of wood with special types of sandpaper that have been dipped in water can be done to help eliminate dust. I will explain this in more detail further on in this article.
When Should I Wet The Wood?
Using water in sanding is not always necessary. In fact, further on in this article, I will show you the exact steps I use to get the surface silky smooth just by using dry sandpaper.
You should use water to wet the wood when you are needing a super smooth surface or the species of timber has curly grain and is difficult to get smooth with normal-dry sanding. In 90% of the woodwork articles we make, a finish of this level is not needed and is unnecessary. However, some species of timber may require the need.
There may be times however when you need that extra level of detail. The following items are typically sanded wet to achieve a better finish.
- End Grain cutting boards
- Musical Instruments
- Fine box making
- Woodturning Pens
- Resin and Epoxy projects
Can You Dry Sand Wood That Is Wet?
Wet wood that is well-soaked with water cannot be dry sanded as the wet wood fibers will become logged in the sandpaper and gum it up. Dry sanding of wet wood does not work and should not be practiced.
Here I refer to wet wood being wood that is fully soaked in water or is still green and freshly cut and has a moisture content of 40% and over. I do not understand why anyone would soak their wood in the wat
If you have wet your wood with too much water, you need to allow it a few hours to dry out before attempting to sand it.
How Long Should Wood Dry Before Sanding?
Wood that has been wet with a small amount of water from your hands or a cloth will require 2-3 hours to completely dry before it can be sanded with dry sandpaper. This is provided the weather conditions are stable and dry.
Proper drying times for your wood will need good ventilation and airflow. As mentioned above, a day that is very high in humidity can affect the drying time also.
Wetting the wood is just one type of sanding which uses standard dry sandpaper. There is also sanding that can be done with wet sandpaper which also gives the same result and eliminates much of the dust which is normally caused by dry sanding.
I have explained how to perform each of these procedures below. But first, lets discuss the difference between dry sanding wet wood and wet sanding dry wood.
What’s The Difference Between Dry Sanding Wet Wood & Wet Sanding Dry Wood?
Dry sanding wet wood requires the surface of the wood to be dampened with water and left to dry before being sanded with standard dry sandpaper. Wet sanding dry wood is where special sandpaper called wet & dry is used and is dipped or soaked in water before sanding dry wood.
Both produce similar results although the wet sanding does eliminate quite a lot of dust which is normally produced by sanding. Wet sanding is very common amongst woodturners.
There is no right and wrong answer here. Typically anyone building larger pieces of furniture would use dry sandpaper and dampen the wood. Whereas someone who is finishing a nice tabletop or woodturning would opt for wet sanding.
Wet sanding can get messy and that is why it is not used on furniture pieces so much. Too much water around glued joints could weaken these if care is not taken.
Wet sanding also helps keep your sandpaper clean as it flushes the wood particles out of your paper.
Dry sanding uses normal sandpaper with a paper backing. Wet sanding uses waterproof sandpaper that does not break down in the water.
Did you know some wet sanding paper can come in grits as high as 20,000!
Normal dry sandpaper commonly ranges in grits from 60 up to 400-600. Wet sandpaper starts at 600 grit and can go as high as 20,000 grit in some instances! This is probably beyond what most normal woodworkers need. Anything sanded to 5,000 grit will give excellent results.
I recommend you try a sample of each and get the feel for it to see what will work best for you.
How To Dry Sand Wet Wood
The steps below are what I would take in order to wet the wood of my project in order to get a smooth surface using standard dry sandpaper:
- First, lightly sand your project with dry sandpaper using 120 grit
- Remove all excess dust from the wood using an air gun or cloth
- Put some water in a bowl
- Use your fingers to flick a small amount of water on the wood you intend to sand. Alternatively, dip a cloth in the water and wring it out a little so it’s not dripping wet. Pat the cloth over the wood surface
- If there are pools of excess water on the surface remove those with a cloth
- Wait for the wood to dry for 2-3 hours
- Once the wood is dry run your fingers across the grain and it should feel slightly rough. The water has raised the grain.
- Take some 180-grit dry sandpaper and sand the wood until it’s smooth.
- From here work through the grits of sandpaper from 240 right up to 400 grit depending on the level of smoothness you require
- You may also wet the grain in between these grits to gain an even better surface
How To Wet Sand Dry Wood
- First, take a piece of special sandpaper commonly called wet & dry. This type of sandpaper has a special backing to it that doesn’t break down in the water.
- Let’s start with a grit of around 200 grit
- Soak this sandpaper in water or dip it in water
- Apply the sandpaper to the wood
- An electric sander can be used but you must be careful of electrical components
- Wet sanding is best done in long straight strokes
- Keep wetting the sandpaper as you go. This prevents the sandpaper from clogging up
- As you sand, start increasing your gits by 200-500 each time
- An excellent finish will be achieved with 5,000 grit if you choose to go that far
When Should You Dry Sand?
Dry sanding is predominately done on pieces of furniture that don’t require a super smooth surface to be achieved. Also, furniture that has multiple pieces of wood and joints will prove very difficult to get wet sandpaper around.
The below are times when I would opt for dry sanding:
- When your project has many joints and crevices
- When dust is not a concern
- When you are happy with the finish that 240-400 grit sandpaper leaves
- If you are concerned about water getting into my glue joints
- If you needed to smooth down previously painted wood.
Be sure to use one of these tested shop vacs to keep the dust down.
When Should You Wet Sand?
Wet sanding is best done in areas where you are looking to achieve a super smooth finish.
Below is when I would opt to use wet sanding:
- If you are turning a nice bowl on the lathe
- If you are turning pens on the lathe
- When you want to polish a tabletop or similar flat surface that everyone can see
- If you make musical instruments
- When you need to polish a varnished surface
- When you have an epoxy or resin finish that needs polishing
- If you are concerned about making dust
Benefits of Wet Sanding
The main benefits of wet sanding include:
- Little to no dust
- Water keeps the sandpaper free of debris
- You can achieve a super smooth and shiny surface
Other Benefits Of Adding Water
Not only does adding water to the sandpaper improve your surface it also has a little-known secret that not many people know about.
Many times I have just finished a tabletop and noticed that many small indentations have appeared in the surface from small wood chips that were sitting on the workbench when I turned it over.
I was too careless to clean the bench properly. If you leave these indentations, they will most certainly show you in your finish, especially when using stain.
Here is a great tip to remove them using water.
- Take a cloth and dip it in water
- Gently wring it out to remove excess water
- Pat the wet cloth on the wood surface to wet the grain
- Then lay the cloth flat and the surface
- Apply a warm iron to the cloth
- The heat from the iron and the moisture in the cloth will create steam
- The hot steam will raise the grain considerably more and remove these indentations
- Reapply this if stubborn indentations remain
Please note – This only works if the grain has not been cut.
What Types Of Sandpaper Are Used
Both Dry and Wet sanding require the use of two different types of sandpaper. You cannot use normal dry sanding paper with water as the backing will simply fall apart.
Dry Sanding
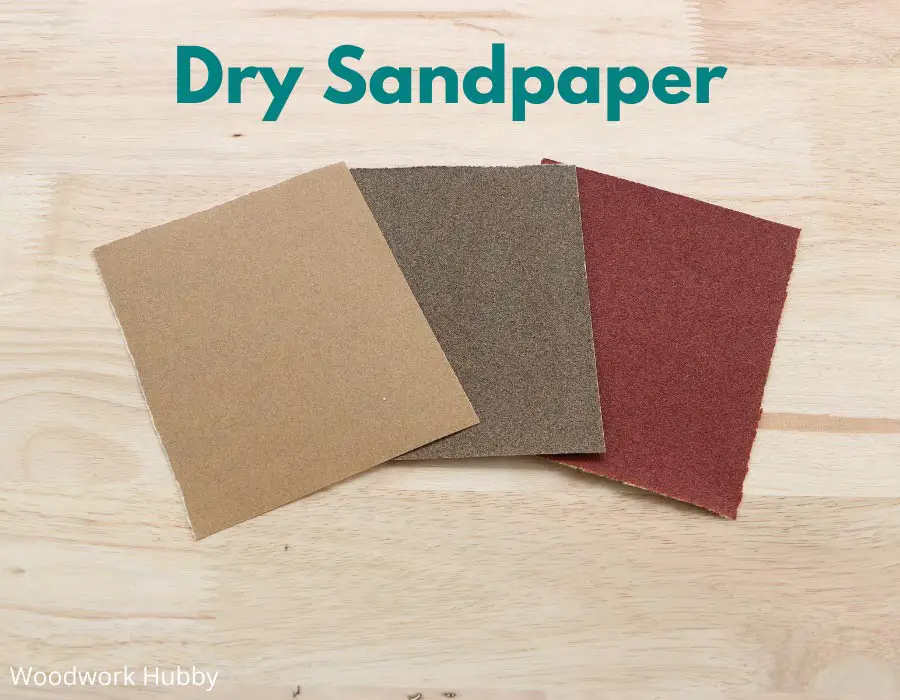
This type of sandpaper is made when an abrasive substance gets glued to a backing material. It is very common in hardware stores and will usually be white or red in color although this does vary depending on where you buy it.
The backing material can be either paper, cotton, polyester, rubber, or rayon. The abrasive part can be made from garnet, aluminum oxide, silicon carbide, or alumina-zirconia.
Wet Sanding
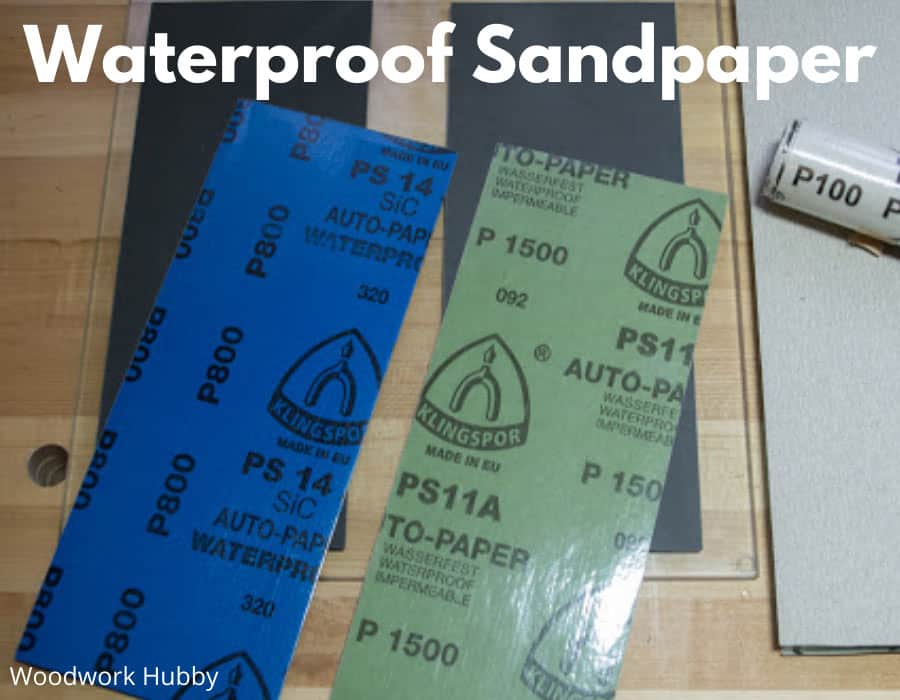
Wet sanding paper or commonly referred to as “Wet & Dry” is made in the same way that dry sandpaper is. The main differences are that the grits are generally a lot finer and the color of the paper is usually dark grey or black in some cases.
What Is Sandpaper Grit?
The grit of sandpaper is a measurement of the size of the abrasive particles on the surface. The higher the number, the finer the abrasive is. Sandpapers will a low grit such as 60 are extremely coarse to touch and remove material rapidly.
Sandpaper grit numbers are usually printed on the back of the paper.
Dry Sandpaper Grits
| Grit Number | Type | Description | Best Used For |
| 24-36 | Extra Coarse | Rapidly removes material but leaves a badly scratched surface. Super rough | Initial sanding of floors or paint removal |
| 40-60 | Coarse | Removes material quickly and is rough to touch | Good for removing old varnish |
| 80 | Medium | Medium- Coarse surface texture | Preps wooden surfaces to a suitable state in preparation for final sanding. Always start with this grit |
| 100-120 | Fine | Much finer surface and most common grit used | Removes deep scratches left by 80 grit and makes the surface smooth to touch. The go-to grit! |
| 180 | Very Fine | Smooth sandpaper and used for final finishing | This is used after 120 grit and gets the surface very smooth. This is a good enough finish for most larger furniture pieces and accepts varnish easily |
| 240 | Extra Fine | Smooth as silk | For surfaces that need extra attention and where a spray finishes or wipe on poly will be used. Gets the surface very smooth to touch |
Wet Sandpaper Grits
| Grit Number | Best Used For |
| 400 | Preparing surfaces left by dry sanding and smoothing varnishes |
| 600 | Fine sanding woodturning items and musical instruments |
| 800-1000 | Extra fine sanding and great for epoxy & resin |
| 1200-1500 | Superfine and gives a shine to the surface |
| 1500-3000 | Fine Polishing |
| 4000+ | Polishes and buffs the surface. Most woodworkers don’t go higher than this grit |
Conclusion – Should You Wet Wood Before Sanding?
As you can see from the above, it is not always necessary to wet the wood in order to get a smooth finish. Wet sanding does provide some additional benefits but in general, everyday woodworking is probably not necessary.
I hope you enjoyed this article and have found it useful for your next woodworking project!

